Scheduling availability
- Bridget Fritzke
- Lauren Ipsum (Unlicensed)
- Molly Yang (Unlicensed)
Overview
Providers can indicate, on a separate calendar, their availability for appointments. Then, any user trying to schedule an appointment for the provider outside the provider's availability will receive a warning message saying that the provider will not be available at the desired time. If online booking is enabled, the the patient will only be offered times at which the provider is available according to the provider's availability calendar. Users without the Override availability booking user privilege will not be able to schedule events outside providers' availability as defined by the availability calendar.
Enabling availability scheduling
At Setup > Locations, edit the details of the desired location, and check Availability enabled.

Creating availability
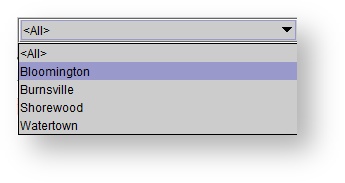
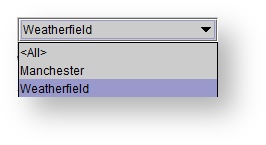
- In the Scheduling tab, select a location from the drop-down menu in the top, right-hand corner.
- Click the show availability button near the top of the schedule.

- Right-click in a desired time slot on the schedule.
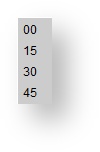
- Select a starting 15-minute interval (e.g. 8:00, 8:15, 8:30, 8:45).
- Use the Create availability dialog box to select the correct Location and provider's Calendar.
Set the duration of available time using the scroll bar.
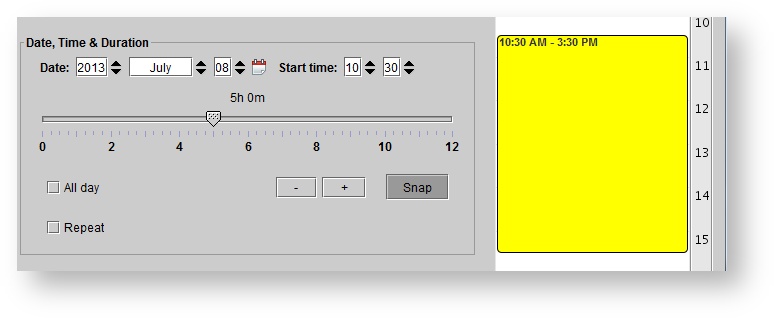 Hover the mouse over the yellow time-block, in the preview panel, to drag and drop to the desired start time. Use the mouse to drag-and-drop the top or bottom of the time-block to the desired duration.
Check the Repeat box to select a repeat pattern.
In the Edit repetition details dialog box, enter the repeat pattern details. If the provider is available three days a week, make a Weekly repeat pattern, and check the days of availability. Select an End date. Click Save.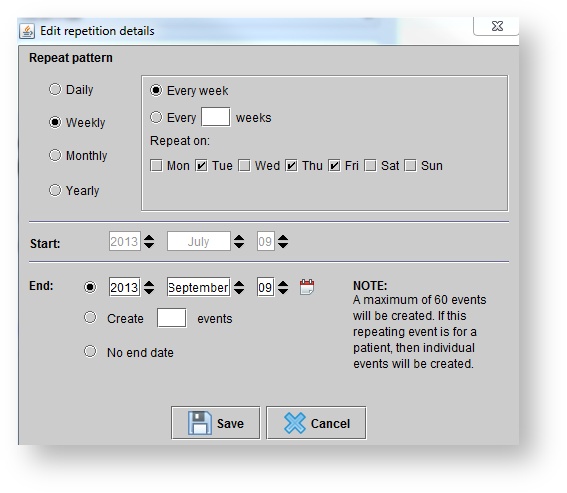 Make sure that the End date is not specified before the Start date.
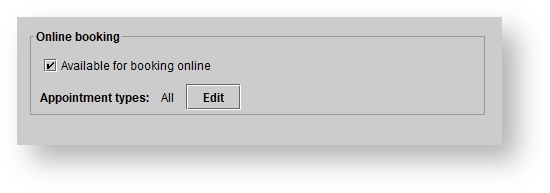
- If Online Appointment Booking is enabled, check the Available for booking online box to allow online appointments to be booked during the specified availability. Use the EDIT button to configure which types of appointments can be booked during the specified availability.
9. Click CREATE AVAILABILITY once done.
Editing availability
- In the Scheduling tab, select a location from the drop-down menu in the top, right-hand corner.
- Click the show availability button near the top of the schedule.
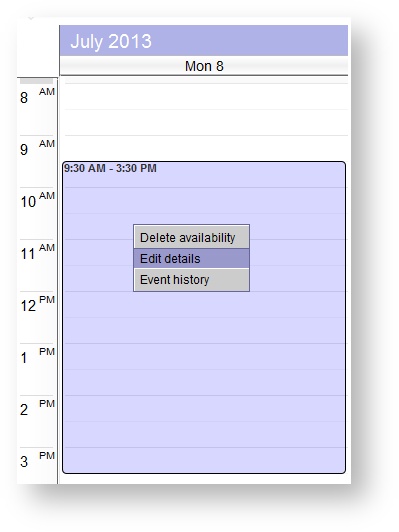
- Right-click on an availability time-block.
Select Edit details.
 In the Edit availability dialog box, make any necessary adjustments. Click the CHANGE REPEATE DETAILS button to adjust the repeat pattern. Click Save.
- In the Edit availability dialog box, click UPDATE AVAILABILITY.
- In the Confirm operation dialog box, do one of the following:
Use the drop-down menu to select This instance only. Click OK to edit only the one instance of the time-block.
Use the drop-down menu to select All instances. Click OK to edit all instances of the time-block.
Selecting All instances completely removes all previous time-blocks in the series, and re-creates the series using the start date of the instance being edited.Click Cancel to disregard changes.
Deleting availability
- In the Scheduling tab, select a location from the drop-down menu in the top, right-hand corner.
- Click the show availability button near the top of the schedule.
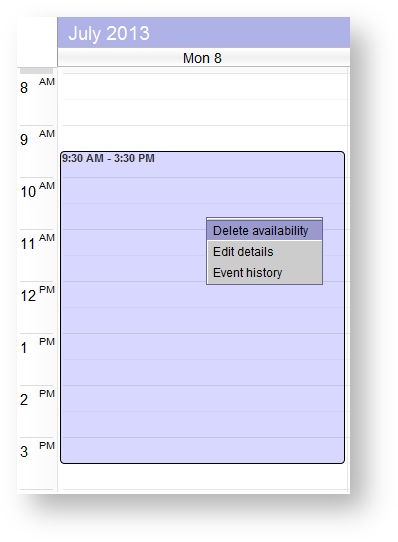
- Right-click on an availability time-block.
- Select Delete availability.
- In the Confirm operation dialog box, do one of the following:
Use the drop-down menu to select This instance only. Click OK to delete only the one instance of the repeating time-block.
Use the drop-down menu to select All instances. Click OK to delete all instances of the repeating time-block, past and future.
- Use the drop-down menu to select This and prior instances. Click OK to delete the selected and prior instances of the repeating time-block.
- Use the drop-down menu to select This and future instances. Click OK to delete the selected and future instances of the repeating time-block.