Returning hearing aids
- Jessica Colaw
Returning hearing aids and orderable items
On the Patient browser tab, open the patient’s file and do one of the following:
- Navigate to the Hearing aids tab:
- Highlight the desired aid or orderable item to be returned.
- Right-click on the aid and select Return to manufacturer.
- Navigate to the Sales history tab:
- Highlight the invoice with the desired aid or orderable item to be returned.
- Right-click on the invoice and select Return to manufacturer.
In the Return items screen, do the following:
If the order was completed (all items delivered, and patient invoice created), any other hearing aids, options, items, or services which were part of the same order, and have not already been returned, are listed.
- If necessary, click the Return date field to select the desired date from the calendar.
- Remove any items from the sale which are not being returned click the X next to the item to remove it from the return. Adjust the quantities to be returned if necessary. See: Adjusting item quantities for more information.
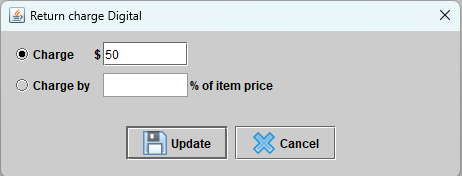
- Double-click the Price field to adjust the return charge digital for the hearing aids being returned.
- Click in the Reason field to select a return reason from the drop-down menu.
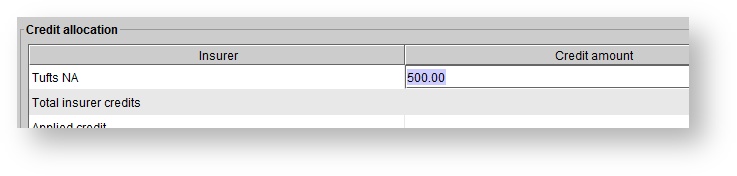
- Optionally, adjust the credit allocations (if any insurers were involved in the original transaction), by double-clicking into the Credit amount field on the Credit allocation panel. To save the change, click out of the cell, or click Enter on the keyboard.
- Optionally, if your system has multiple credit memo templates, set your desired credit memo template in the drop-down menu at the upper right-hand corner of the screen. One will be chosen by default. After the return is logged, in a new tab, a credit memo will appear, and you can print it out for the patient.
2. Click RETURN ITEMS.
Applying insurer return credit
Upon clicking RETURN ITEMS, if an amount is allocated to an insurer, the Confirm operation dialog box appears to inquire about further billing the insurer. Do one of the following:
Click Yes to save the insurer credit and keep the third party balance open on the original invoice.
Apply the third party return credit against the original invoice at a later time by clicking the Accounting drop-down menu, clicking Enter 3rd party payment, selecting the insurer from the drop-down menu, right-click the desired invoice (denoted with a warning icon), and select Apply return credit. In the Unapplied credit(s) dialog box, check the box to the left of the correct Txn ID number and click APPLY.- Click No to automatically apply the insurer credit against the third party open balance on the original invoice.
Using insurer return credit
An insurer return credit is generated in one of two ways:
- Returning a sale which has a third party payment applied against it.
- Entering a third party payment for more than the amount applied on an invoice.
To use a third party return credit against another invoice:
- Click the Accounting drop-down menu, and select Enter 3rd party payment.
- In the Enter payment screen, select the Insurer from the drop-down menu to see a list of allocated open invoices.
- Optionally, select the Location from the drop-down menu to filter the list of invoices by assigned location.
Click in the Payment date field to select the desired date from the calendar, click in the Payment amount field to enter the payment total, and select a Payment method from the drop-down menu. Optionally, add a note in the Memo field.
Check the box beside the desired invoice(s) to be paid.
The Amount applied field should contain the amount of the payment plus the credit. Double-click in the Amount applied field to enter the correct amount. Click out of the cell, or click Enter on the keyboard, to save the change.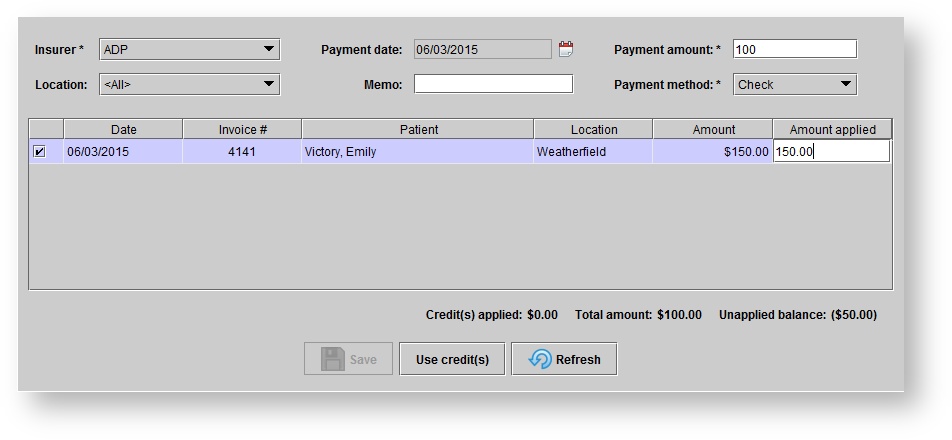
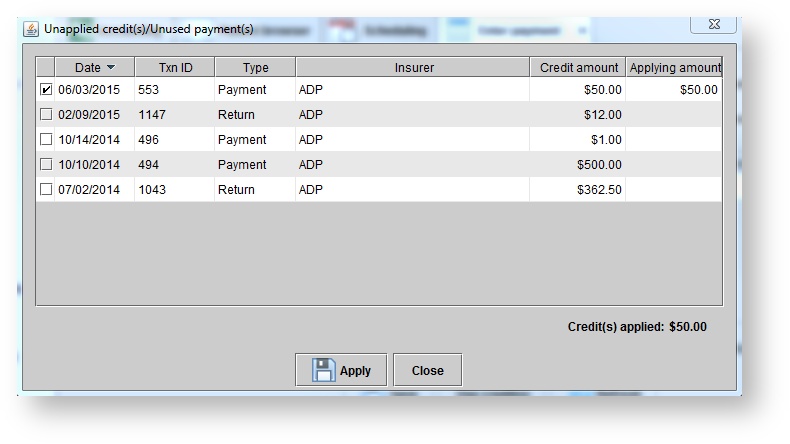
- Click USE CREDIT(S) button. Check the box beside the desired credit(s) to be used. Click APPLY.
Click SAVE at the bottom of the Enter payment screen.
Issuing patient refunds
- If a patient payment is applied against the sale, the Confirm operation dialog box appears. Do one of the following:
Click Yes to issue a refund. In the Issue refund dialog box, click in the Refund date field to select the desired date from the calendar, click in the Refund amount field to adjust if necessary, and click the Refund method drop-down menu to select the desired method. Click Save.
A credit memo generates for the patient, and journal entries recording the return and refund are created. In the patient's Sales history screen, click REFRESH to see the return and refund transactions. Returned aids appear in the patient's Hearing aids tab, on the Other aids/earmolds tab.Click No to save the credit on the patient's file.
Return credit can be applied against a new sale, or a refund can be issued at a later time.A credit memo generates for the patient, and a journal entry recording the return is created. In the patient's Sales history screen, click REFRESH to see the return transaction. Returned aids appear in the patient's Hearing aids tab, on the Other aids/earmolds tab.
QuickBooks
Applying patient return credit
- On the Patient browser tab, open the patient's file.
- Click the Sales history tab.
- On the Sales history tab, right-click the desired sale and select Apply credit.
- In the Unapplied credit(s) dialog box, within the Unapplied payments/credits panel, click on the desired return credit.
- Click APPLY.