Issuing refunds
- Olivia Burger (Unlicensed)
- Lauren Ipsum (Unlicensed)
- Larissa Boecker (Unlicensed)
- Jessica Colaw
Issuing patient refunds
Refunds can be generated from unapplied payments, payments with an open balance or return credits.
- To issue a refund, do one of the following:
- On the Patient browser tab, open the patient's file.
- On the Patient browser tab, click on the desired patient.
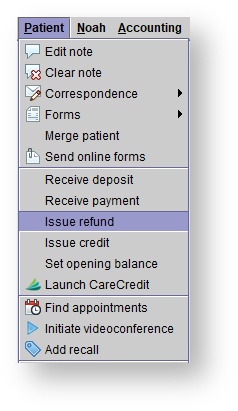
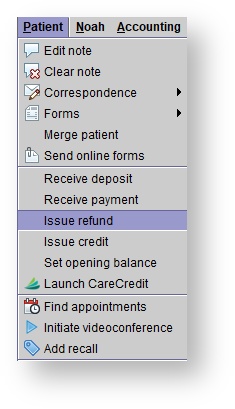
- Click the Patient drop-down menu, and select Issue refund.
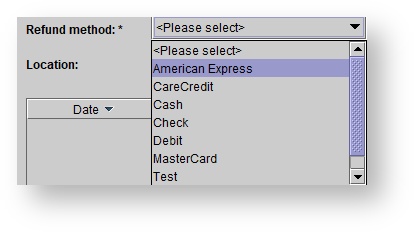
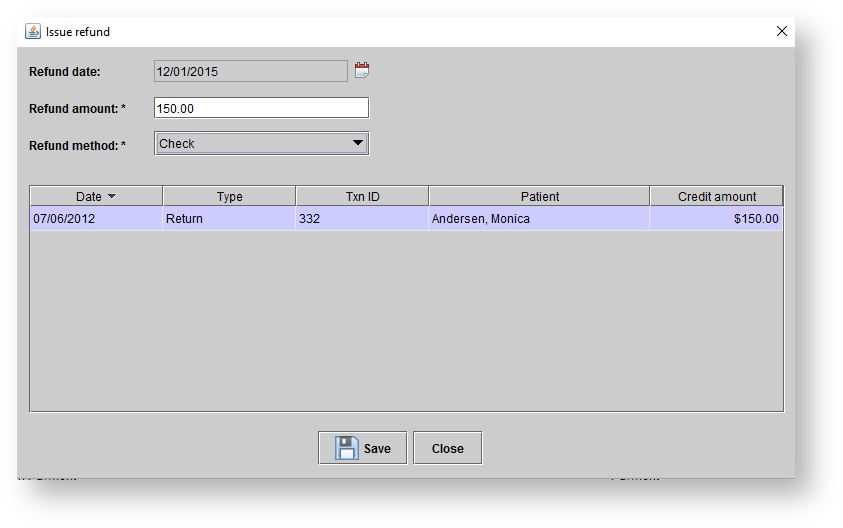
In the Issue refund dialog box, click on the payment to refund, select the Refund method, and click Save.
QuickBooks
Issuing patient refunds from a return
- If the returned sale had a patient payment applied to it, the Confirm operation dialog box will appear.
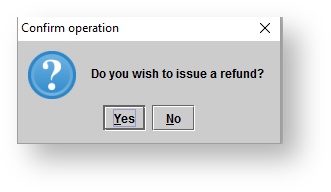
- If Yes is selected, the Issue refund dialog box will appear.
- Optionally, adjust the Refund date using the red calendar icon.
- Optionally, modify the Refund amount by clicking in that box.
- Then, choose the Refund method from the drop-down menu.
Click Save.
A credit memo generates for the patient. Additionally, journal entries recording the return and refund are created. In the patient's Sales history screen, click REFRESH to see the return and refund transactions. Returned aids appear in the patient's Hearing aid's tab within the Ordered/delivered items section after clicking the show inactive items button.
- If No is selected, a return credit will show in the patient's sales history tab.
Return credit can be applied against a new sale, or a refund can be issued at a later time.
The credit memo is generated for the patient and a journal entry recording the return is created. In the patient's Sales history tab, the return will be visible and the return credit will be visible as an open balance when hovering over the return. Returned aids appear in the patient's Hearing aid's tab within the Ordered/delivered items section after clicking the show inactive items button.
QuickBooks
QuickBooks credit memos are created for the patient and manufacturer, and any insurers to whom credits were allocated on the Return items screen.
Issuing patient refunds from an open balance
Highlight the patient's name in the patient browser or open the patient's file. Then, select Patient and choose Issue refund from the drop-down menu.
The Issue Refund box will appear. Use the red calendar icon to adjust the Refund date. Enter the Refund amount
and then choose the Refund method from the drop-down menu. Finally, click Save.
The refund will be visible on the patient's sales history tab.
Deleting patient refunds
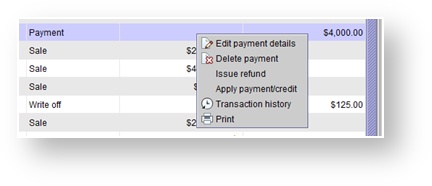
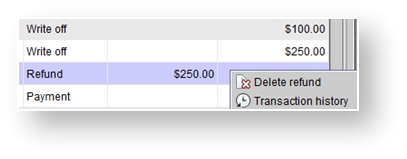
To delete a patient's refund, navigate to the patient's Sales history tab. Find the refund, right-click and select Delete refund.

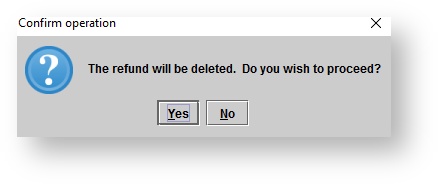
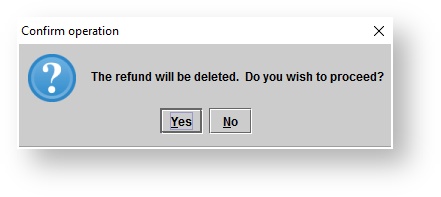
The confirm operation box, pictured below, will appear and ask verify that you want to delete the refund.
Issuing 3rd party refunds from a return
Click on the Accounting option on the toolbar at the top of the screen. Then, select 3rd party ledger from the drop-down menu. Select the Insurer from the drop-down menu. Optionally, select the Location and/or select Return from the Type drop-down option. After you find the return, right-click on that transaction and select Issue refund. You will then see the Issue refund dialog box.

Select the Refund method and optionally adjust the Refund date, using the red calendar icon, or the Refund amount. Then click Save.
The refund will then show in the 3rd party ledger.
Issuing 3rd party refunds from an open balance
Navigate to the 3rd party ledger. Select the insurance company that you will be issuing a refund to. Optionally, narrow down your search using the Location or Type drop down options. Find the payment or return that you will be refunding. Highlight the transaction and right-click.
Choose the Issue refund option. The Issue refund box will appear.
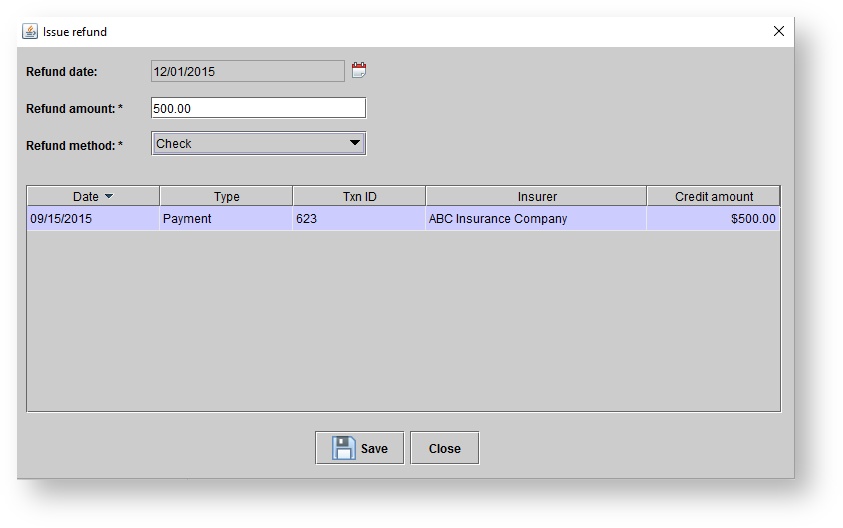
Use the red calendar icon to adjust the Refund date. Adjust the Refund amount and select the Refund method by choosing an option from the drop-down menu. Then click Save.
The refund will then show in the 3rd party ledger.
Deleting 3rd party refunds
Navigate to the 3rd party ledger option. Choose the Insurance company from the drop-down menu and optionally, select the Location. Optionally, in the type drop down box, select refund, Then find the transaction in the list and right-click on it. Select the Delete refund option.
The Confirm operation box will then appear and ask if you wish to proceed. Click Yes to delete the refund.