Upload a copy of the clinic-specific purchase agreement into Blueprint OMS. For more information, visit the Creating editable templates using Microsoft Word page.
Selecting sold aids
- On the Patient browser tab, open the patient’s file.
- Click the patient's Hearing aids tab.
Click on a hearing aid in 'Active' status.
An aid that has been added on a patient's file (see: Adding patient hearing aids), although 'Active' in status, will not generate a purchase agreement as there is no corresponding invoice in the patient's Sales history tab.
Generating purchase agreements
- With an 'Active' hearing aid highlighted, right-click and select Purchase Agreement.
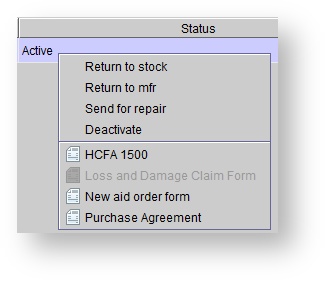
The clinic-specific purchase agreement with automatically populate.
Optionally, generate the purchase agreement by right-clicking on the hearing aid sale in the patient's Sales history screen and selecting Purchase Agreement.
Signing purchase agreements electronically
To enable the electronic signature feature on your purchase agreement, follow the steps here. Signature pads are available for purchase at this link: Signature Pad Order Form.
Archiving purchase agreements
Contact Blueprint Solutions to enable a feature which will automatically archive signed documents.
- Click ARCHIVE AS PDF to save a copy of the agreement in the patient's Documents tab.
- Within the Add document: Purchase Agreement dialog box, input a Title, select a Category, and optionally add a Description and Status.
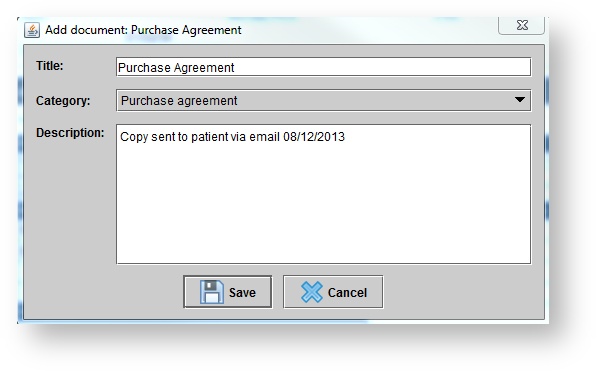
Click Save.
For more information, see: Document scanning and management. To print or save a copy of the agreement to the local computer, click the print or save icons in the top, left-hand corner.
On this page
Related pages