Managing patient groups
Viewing patient groups
Click the Marketing button on the main toolbar.
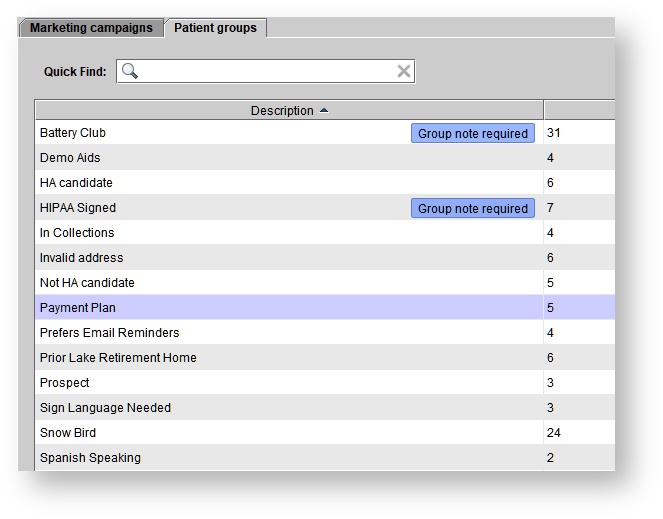
Click the Patient groups tab.
- This will open a list of your patient groups where you will find the following information:
- Description of the group
- Number of Members in a group
- If a group note is required for a specific patient group
Patient groups can be created and used to include specific patients in marketing campaigns.
Creating patient groups
Click the Marketing button on the main toolbar.
Click the Patient groups tab.
On the Patient groups tab, click CREATE NEW.
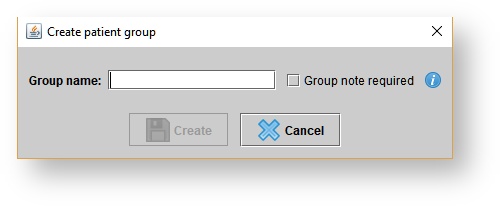
In the Create patient group dialog box, enter a group name and click CREATE.
- Optionally, check the Group note required checkbox. If enabled, a group note will be required when adding a patient to this group. An example of a required note could be a membership number for a rewards program.
Editing patient groups
Click the Marketing button on the main toolbar
Click the Patient groups tab
On the Patient groups tab, select a patient group and click EDIT DETAILS
- In the Edit patient group dialog box, you can make the following adjustments:
- Modify the group name
- Modify if the group note is required or not required
5. Click UPDATE.
Deleting patient groups
Click the Marketing button on the main toolbar.
Click the Patient groups tab.
On the Patient groups tab, select the desired patient group.
Click DELETE.
All patients included in the group will have the grouping removed from their Marketing tab.
Viewing members in patient groups
Click the Marketing button on the main toolbar.
Click the Patient groups tab.
On the Patient groups tab, do one of the following:
Select a patient group and click VIEW MEMBERS .
Double-click a patient group.
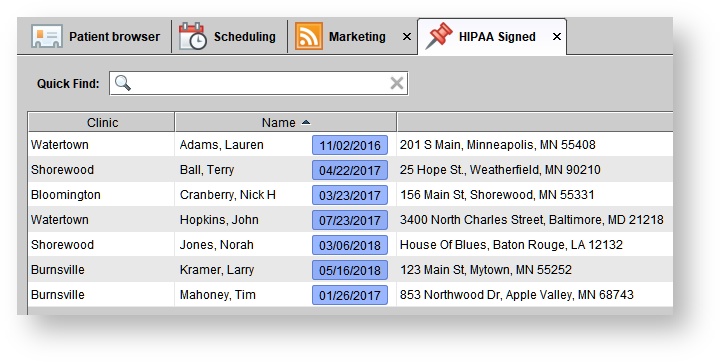
- This will open to the list of patients where you will find the following information:
- The patient's assigned clinic
- The patient's first and last name
- Patient group notes will be in a blue bubble (if a note has been added)
- The patient's address
Manually adding/removing patients to/from patient groups
Click the Marketing button on the main toolbar.
Click the Patient groups tab.
On the Patient groups tab, do one of the following:
Select a patient group and click VIEW MEMBERS .
Double-click a patient group.
Click ADD/REMOVE MANUALLY.
In the Select patients dialog box, do one of the following:
To add patients to the group, select patients from the Available patients list, and click the left arrow. The selected patient is added to the Selected patients list.
To remove patients from the group, select patients from the Selected patients list, and click the right arrow. The selected patient is removed from the Selected patients list.
To select more than one patient, hold the Ctrl key on the keyboard while selecting the desired patients.
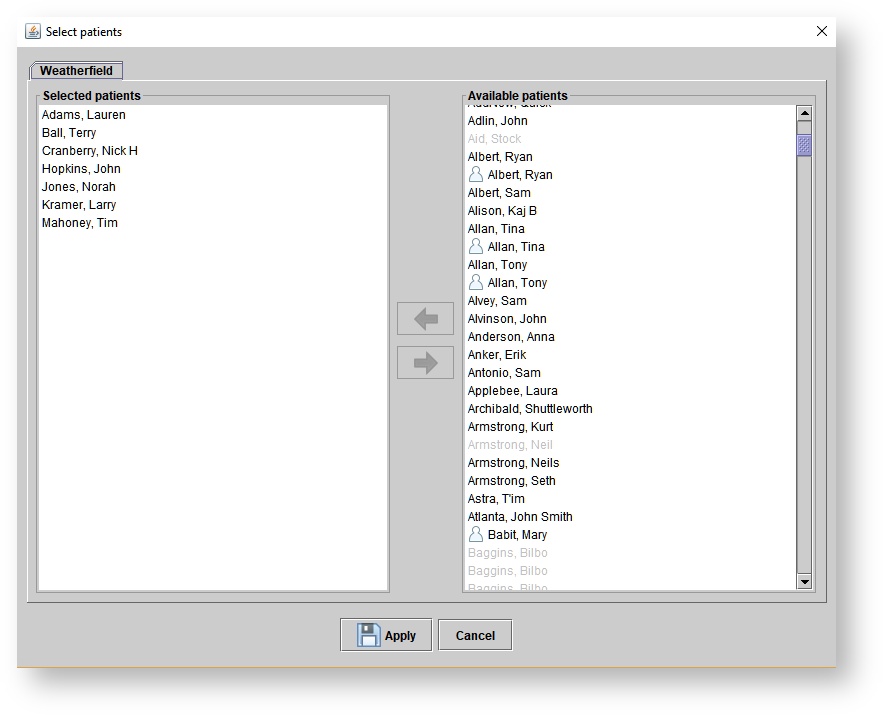
The Available patients list shows only patients accessible in the current location. To add patients from multiple locations, navigate back to the Patient browser and select <All> from the Location drop-down menu.
Add individual patients into a group by clicking on the patient's Marketing tab.
Printing correspondence for patient groups
Click the Marketing button on the main toolbar.
Click the Patient groups tab.
On the Patient groups tab, do one of the following:
Select a patient group and click VIEW MEMBERS .
Double-click a patient group.
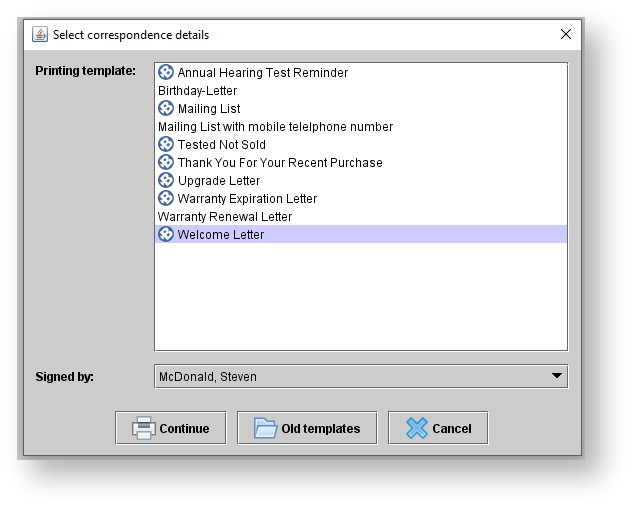
Click PRINT.
Then, select the printing template, set a signer, and hit CONTINUE.
6. A new tab will open, displaying the document. In that tab, select the printer icon  in the top left-hand corner to print the correspondence.
Exporting patient groups
Click the Marketing button on the main toolbar.
Click the Patient groups tab.
On the Patient groups tab, do one of the following:
Select a patient group and click VIEW MEMBERS .
Double-click a patient group.
Click EXPORT. A drop-down menu will appear, prompting you to pick between a full export and a short export. A full export contains detailed information about the patients' accounts, whereas a short export mainly contains contact information.
- Data in separated columns appear in a new tab.
- Click the floppy disk icon
 in the top left-hand corner and save the document as a .CSV file; then, you can open the document in Microsoft Excel and manipulate it further from there.