See: Emailing documents and Faxing documents for additional document options.
Upload documents
- Navigate to the patient's documents tab.
- Click the Upload button.
- Select the file from your computer.
- In the Add document window,
- Type in a title
- Select a category from the drop down menu
- Optionally, add a description
- Select a status from the drop down menu
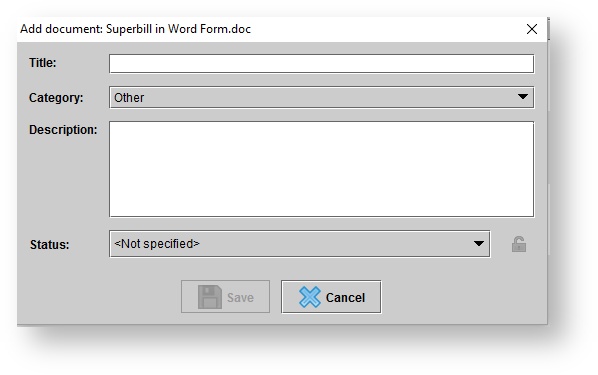
- Click Save.
Viewing documents
- On the Patient browser tab, open the patient's file.
- Click the Documents tab.
- Right-click on a document.
- Select View.

When viewing a document, use the tool bar at the top of the screen to save, print, search, zoom, or rotate.
Printing documents
- On the Patient browser tab, open the patient's file.
- Click the Documents tab.
- Right-click on a document.
- Select Print.

- Confirm the printing settings and complete the print.
Editing document titles, categories, and descriptions
- On the Patient browser tab, open the patient's file.
- Click the Documents tab.
- Right-click on a document.
- Select Properties.
- In the Edit document properties dialog box, adjust the Title, Category, and Description or Status as needed.

- Click SAVE.
Changing document status
- On the Patient browser tab, open the patient's file.
- Click the Documents tab.
- Right-click on a document.
Select Change status and click on the desired status option.
Downloading documents
- On the Patient browser tab, open the patient's file.
- Click the Documents tab.
- Right-click on a document.
- Select Download copy.
- In the Save dialog box, enter a Save In location and File Name.

- Click SAVE.
Deleting documents
- On the Patient browser tab, open the patient's file.
- Click the Documents tab.
- Right-click on a document.
- Click Delete.
- In the Confirm operation dialog box, click Yes to proceed.
On this page
Related pages