Overview of filtering appointments
Appointments can be filtered to display a subset of appointments. Use the Filter by drop-down menu in the upper, left-hand area of the Scheduling screen to filter appointments by:
People
Resources
Event type
Filtering by people
On the Scheduling screen, click the Filter by drop-down menu, and select People.
Select the check box next to the desired provider(s) to see appointments assigned to the provider(s).
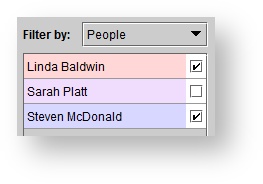

Tip Colors for providers can be adjusted within the Setup menu. See: Creating new users for more information.
Filtering by resource
On the Scheduling screen, click the Filter by drop-down menu, and select Resources.
Select the check box next to the desired resource(s) to see appointments assigned to the resource(s).
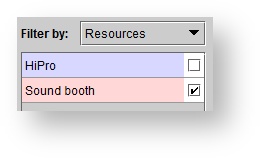

Tip To color code the appointments by appointment type, but keep the filtering by provider or resource, click the Color by appointment type check box.
Filtering by event type
On the Scheduling screen, click the Filter by drop-down menu, and select Event type.
Select the check box next to the desired event type(s) to see appointments assigned to the event type(s).
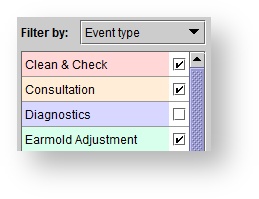

Tip Event type colors can be adjusted within the Setup menu. See: Setting up event types for more information.
Filtering by appointment status
| Anchor | ||||
|---|---|---|---|---|
|
On the Scheduling screen, click the Status drop-down menu.
Select a status option to see only events with the designated status. Status descriptions include:
Status | Description | Additional Information |
|---|---|---|
<Active> | Displays all appointments which are not Cancelled or No show, as well as Cancelled/No Show appointments which still require rescheduling. | |
<Inactive> | Displays Cancelled or No show appointments (which have already been rescheduled or do not require rescheduling), as well as Deleted appointments. | |
Confirmed | Displays firmly established appointments. | |
Tentative | Displays unconfirmed appointments. | |
No Show | Displays appointments for patients who neither kept nor cancelled their appointment. | See: The |
Cancelled | Displays appointments that will not take place. | |
Left Message | Displays appointments in which a communication was left for a patient who could not be contacted directly. | |
Arrived | Displays appointments in which a patient is in the waiting room. | |
In progress | Displays appointments which are currently taking place. | |
Completed | Displays appointments which are finished. |
| Note |
|---|
The appointment status filter can be applied on top of other filters (e.g. people, resource, event type). See: Editing existing appointments for more information. |
| Panel | ||||||
|---|---|---|---|---|---|---|
| ||||||
|
| Panel | ||||||||||||
|---|---|---|---|---|---|---|---|---|---|---|---|---|
| ||||||||||||
|