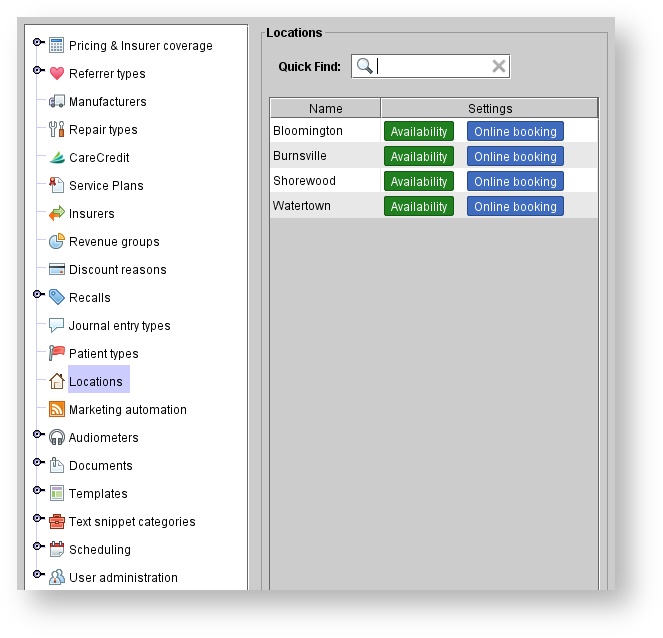
Viewing the list of locations
- Click the Setup button on the main toolbar.
- Click Locations.
| Info | ||
|---|---|---|
| ||
Locations with availability or online booking enabled are indicated by the green and blue boxes, below the Settings column. |
Edit a location's settings
In the Locations panel, click on the desired location, and do one of the following:
- Double-click.
Click EDIT DETAILS.
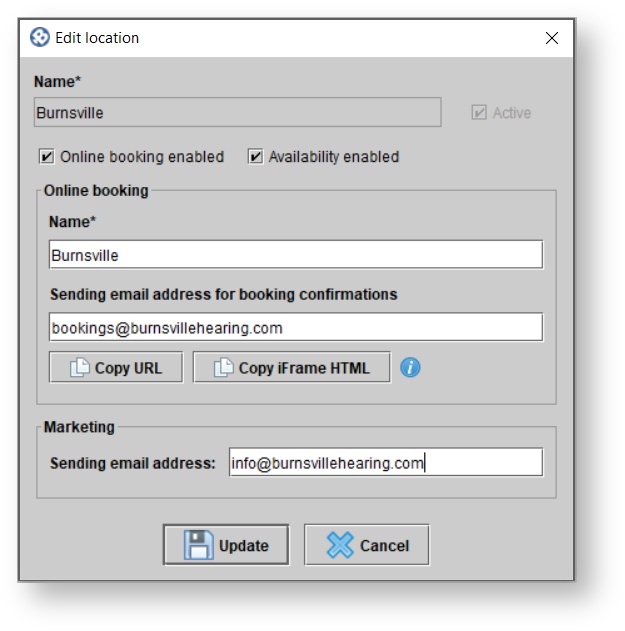
- In the Edit location dialog box, you can make the following adjustments:
- Check the "Online booking enabled" checkbox to enable the location for online booking. If you uncheck the box it will disable the location from online booking. (see: Online Booking Setup Wizard)
- Check the "Availability enabled" checkbox to enable this feature or un-check this box to disable it. (see: Scheduling availability for more information)
| Note |
|---|
If you are using block scheduling you will NOT want this box checked. (see: Block scheduling for more information) |
- Change the display name of a location that is viewed when booking an online appointment.
- Add a location-specific email sending address for online booking confirmations. This is the sending email address to patients who book an appointment in this location.
| Note |
|---|
If you add a location-specific email sending address, it will override the one used under Setup > Scheduling > Online booking for that location. |
- Change the sending address of marketing emails sent to this location's patients.
| Note |
|---|
If you add a location-specific sending address, it will override the one used under Setup > Templates > Marketing > Email campaigns for that location. |
5. Click UPDATE.

Online Appointment Booking URL by location
For clinics with multiple locations, unique online booking links can be created for each location, allowing patients to bypass the “select location” step.
Unique online booking URL’s can be accessed from the locations section of the setup menu.
- Click the Setup button on the main toolbar
- Click Locations.
- In the Locations panel, click on the desired location, and do one of the following:
- Double-click.
Click EDIT DETAILS.
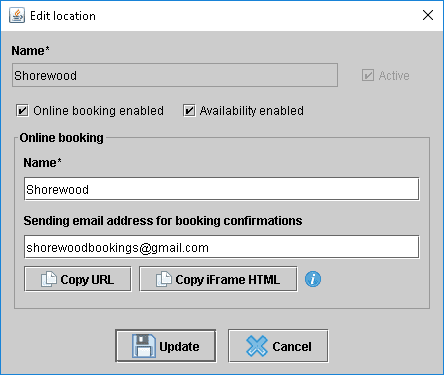
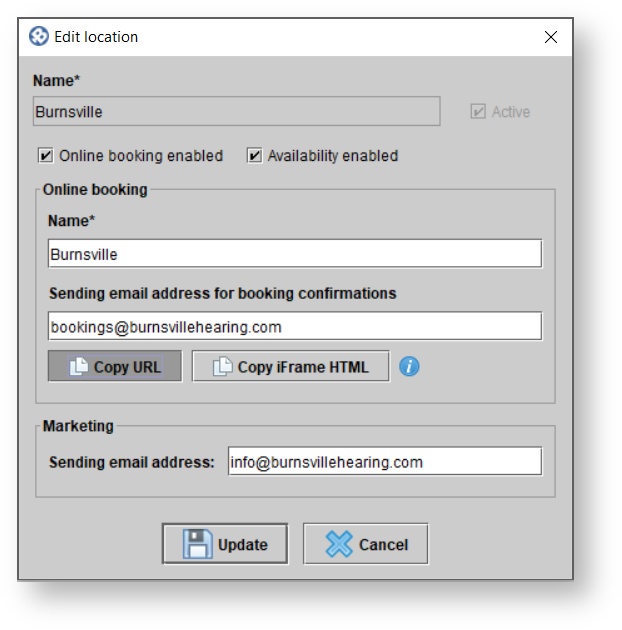
4. Click Copy URL or Copy iFrame HTML.
- Use Copy URL if you want to direct patients from your website to the Online booking web portal.
- Use Copy iFrame HTML if you want to embed the online booking interface within your own website
| Panel | ||||||
|---|---|---|---|---|---|---|
| ||||||
|
| Panel | ||||||
|---|---|---|---|---|---|---|
| ||||||