Overview
On each audiological assessment in Blueprint OMS, it is possible to generate an audiological report which will display the information from the selected audiological assessment. Audiological report templates can be uploaded under Setup > Templates > Forms. By default, Blueprint OMS systems will have two variants of Hearing Assessment, a two-page assessment results report, and four variants of Aud Report, a one-page assessment results report. Additional generic audiological form templates are available at the template tool.
Generating audiological reports
- In a patient's Audiology tab, find in the History panel the audiological assessment you wish to report on.
- Right-click on the assessment and select the desired report option.

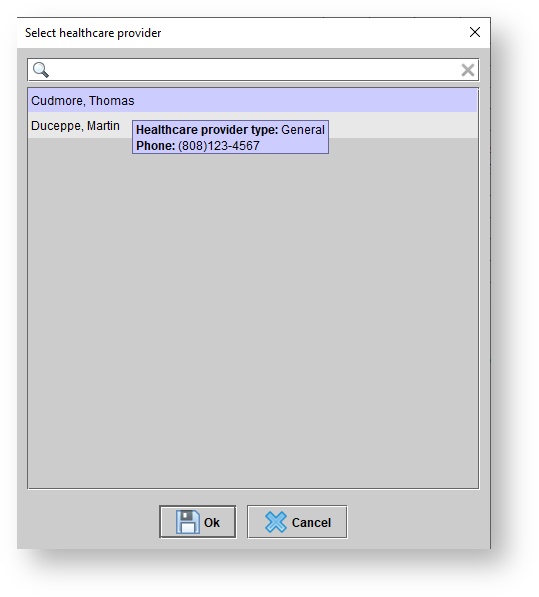
If the report template has merge fields related to an external healthcare provider, then you will be prompted to select a healthcare provider in the Select healthcare provider dialog box.
- The report will open in a new tab, where you can sign and edit it.

Editing audiological report instances
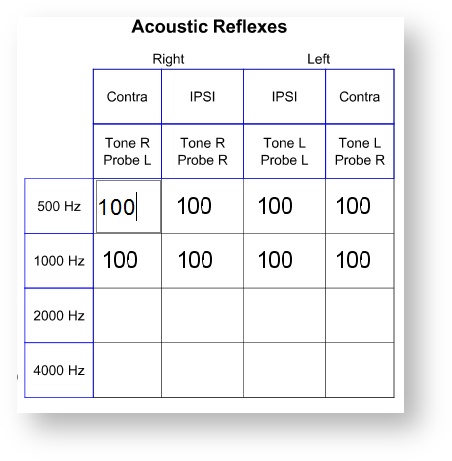
Editing single-line text fields
Click into any text cell to make a change.
| Note |
|---|
Note: the changes will not transfer back to the hearing assessment entry in the patient's Audiology tab. Editing the data only has consequences for the document being created. |
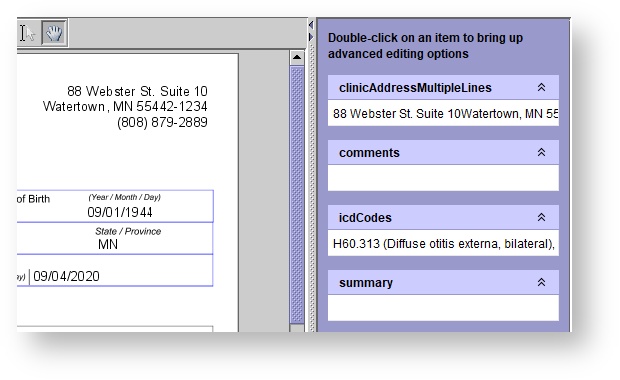
Editing multi-line text fields
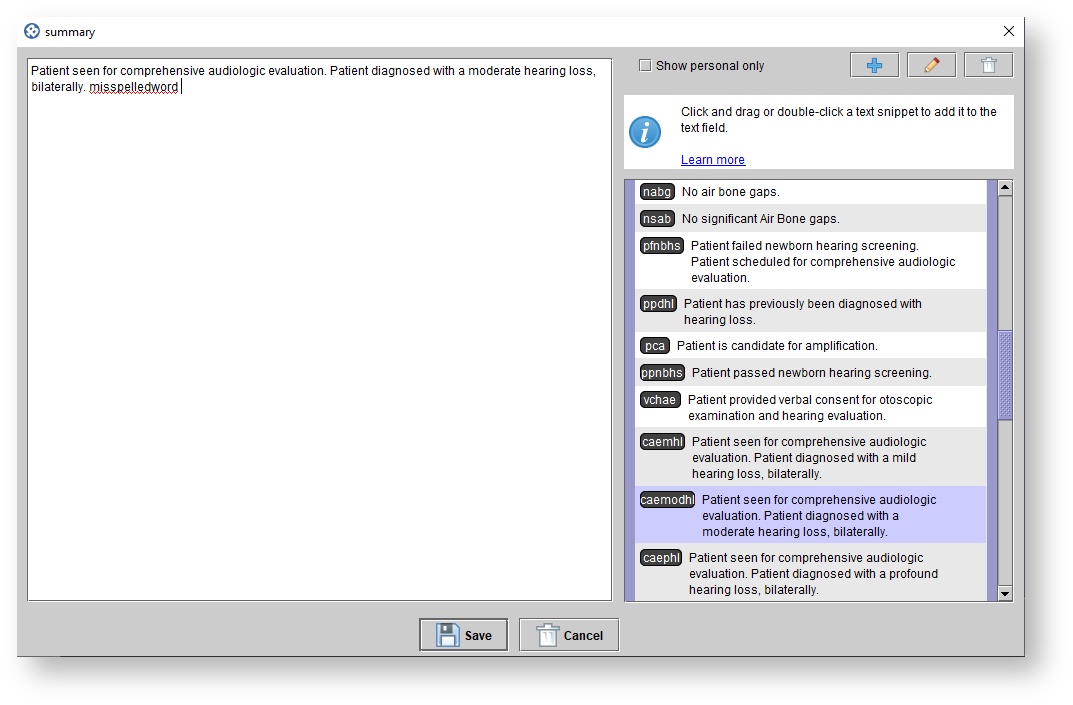
On the right-hand side you will see the multiline text fields listed. Multi-line text fields are text-snippet-enabled. Double-click into the white space under the desired field's name to open a text-snippet-enabled editing window for that field.
In this window, you can compose the text for the chosen field. You can use your system's text snippets and create new ones. Spell check is also enabled here. Once you are finished with your composition, click
.
Signing reports electronically
Report templates configured with eSignature fields can be signed electronically. Standard Blueprint OMS audiological report templates all have eSignature fields.
Signing reports using clinic tablets
See: Setting up and using tablets.
Signing reports using signature pads
- Click .
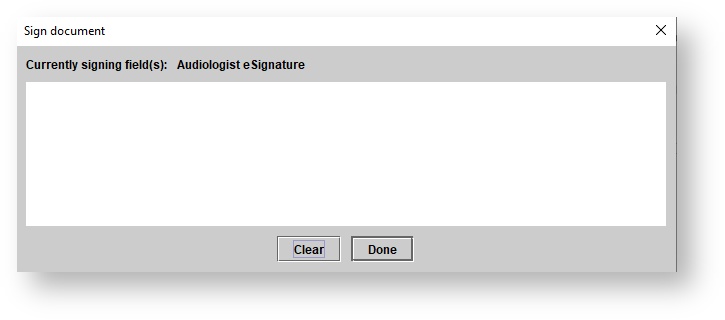
The Sign document dialog box will appear and display the name of the field whose signature is being collected. According to this information, either use the signature pad to sign or have the patient use the signature pad to sign.
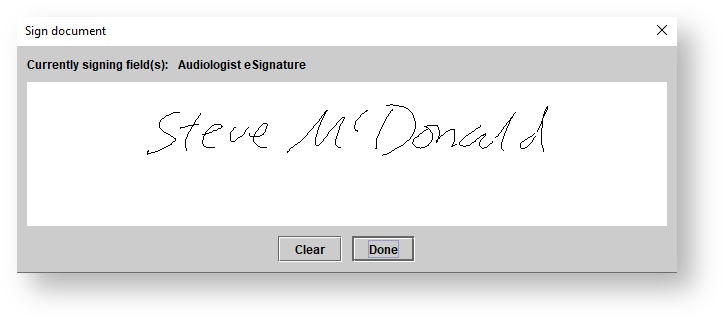
- Once the signature is entered, click .
- If there are any other eSignature fields on the form, the Sign document will prompt for those signatures as well. Continue signing and clicking until there are no eSignature fields left to sign.
- Any signatures entered will appear on the form in the approproiate places.

Archiving an audiological report or audiological report draft
| Anchor |
|---|
| Archiving reports |
|---|
| Archiving reports |
|---|
|
- Click the
 Image Removedbutton to Archive the report under the patient Documents tab.
Within the Add document: Physician Report Hearing Loss Assessment dialog box, input a Title, select a Category, and optionally add an additional Description and Status.
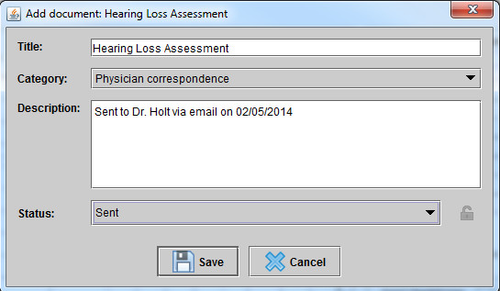 Image Removed
Click Save.
Documents in Blueprint can be archived for editing at a later time. To do this:
- Click the button to save the report for editing at a later time under the patient Documents tab.
Within the Add document: Physician Report Hearing Loss Assessment dialog box, input a Title, select a Category, and optionally add an additional Description and Status.
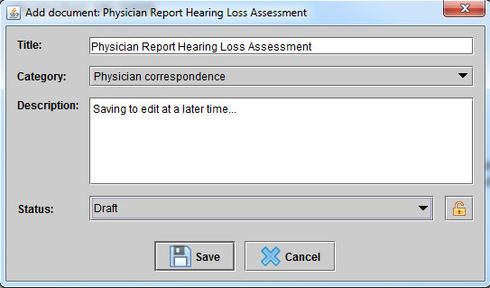 Image Removed
Click Save.
- Click Ok on the Document successfully archived promptthe button at the bottom of the screen.
- The Editable form options dialog box will appear and offer you the choice between keeping the document editable and flattening it. Select one of the options.
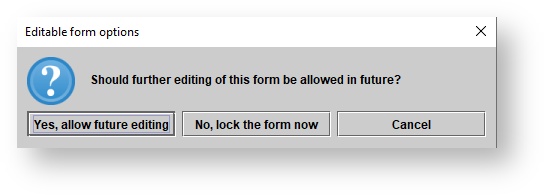 Image Added
 - The Add document dialog box will appear. In it, set a title and category for the document. Optionally, give it a description and a status.
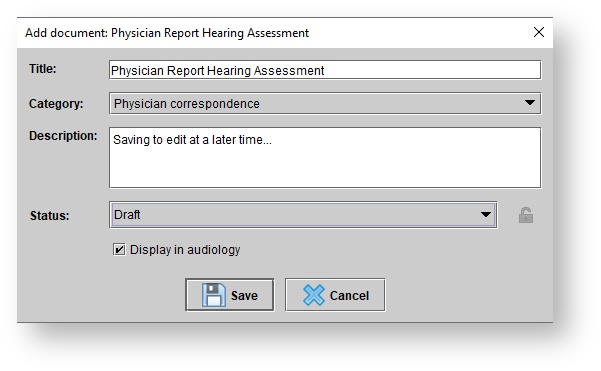 Image Added
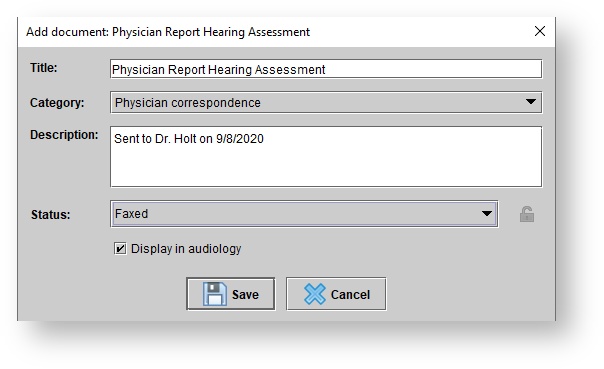 Image Added
 - Click .
| Tip |
|---|
| Edit the report at a later time by clicking on the patient's Documents tab, right-clicking the document, and selecting Edit document View. See Document management for more information. |
Emailing an audiological report
The Hearing Loss Assessment or the Physician Report Hearing Loss Assessment can be emailed directly from Blueprint.
- Open the Hearing Loss Assessment or the Physician Report Hearing Loss Assessment
- Once in the report, click With the report open, click
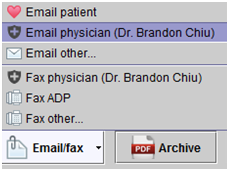 Image Removed
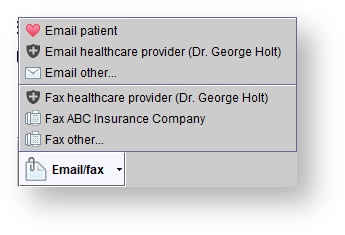 Image Added
 - Choose Email patient, Email physicianhealthcare provider, or Email other.
- After selecting one of the above, it will ask whether future editing will be allowed
 Image Removed
 - Within the Add document: Physician Report Hearing Loss Assessment dialog box, input a Title, select a Category, and optionally add an additional Description and Status.
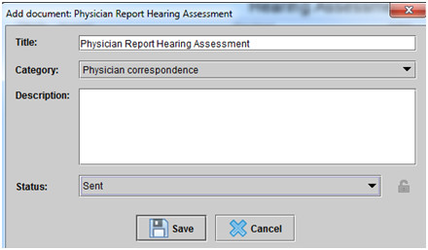 Image Removed
 - A box will pop up verifying that the document has been archived
- If you have selected Email other, then select the e-mail recipient from the list or choose the Manual entry option and click NextIf the document in its present state has not been archived yet, the Edit form options dialog will appear. Choose whether to keep the form editable or not.
 Image Added
 - If the document has not been archived yet, the Add document dialog will appear. Set a name and a category for the document.
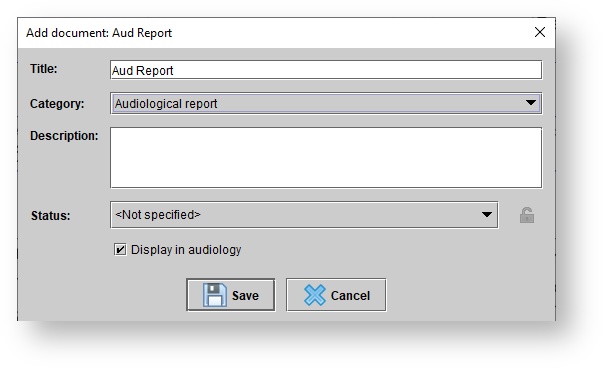 Image Added
 - The Enter message details screen dialog will then appear. The subject can be changed andIn it, optionally change the subject, write an additional message can be entered
- Click Send
Faxing an audiology report
- Open the Hearing Loss Assessment or the Physician Report Hearing Loss Assessment
- Once in the report, click Email/fax
Image Removed - Choose Fax physician, Fax Insurer, or Fax other
- After selecting one of the above, it will ask whether future editing will be allowed
Image Removed - Within the Add document: Physician Report Hearing Loss Assessment dialog box, input a Title, select a Category, and optionally add an additional Description and Status
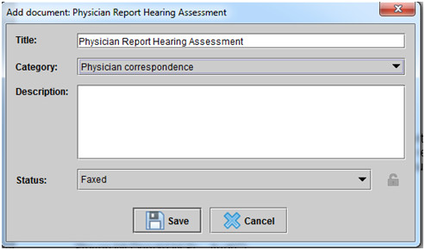 Image Removed
 - A box will pop up verifying that the document has been archived
- If you have selected Fax other, then select the e-mail recipient from the list or choose the Manual entry option and click Next
- The Enter message details screen will then appear. The subject can be changed and, optionally, an additional message can be entered. Then click Next
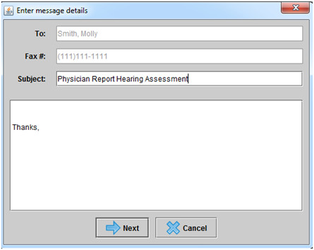 Image Removed
 - The Select correspondence details box will pop up and allow you to choose a fax cover page or the option to send the fax without a cover page
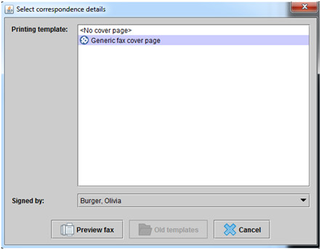 Image Removed
 - Click
 Image Removed
 - The Physician Report Hearing Assessment will then show with the option to
 Image Removed
 - Optionally, click the Save
 Image Removed icon in the top left-hand corner to save the report to your computer.
 Optionally, click the Print  Image Removed icon in the top left-hand corner to print the reportemail message, and add more of the patient's documents as attachments.
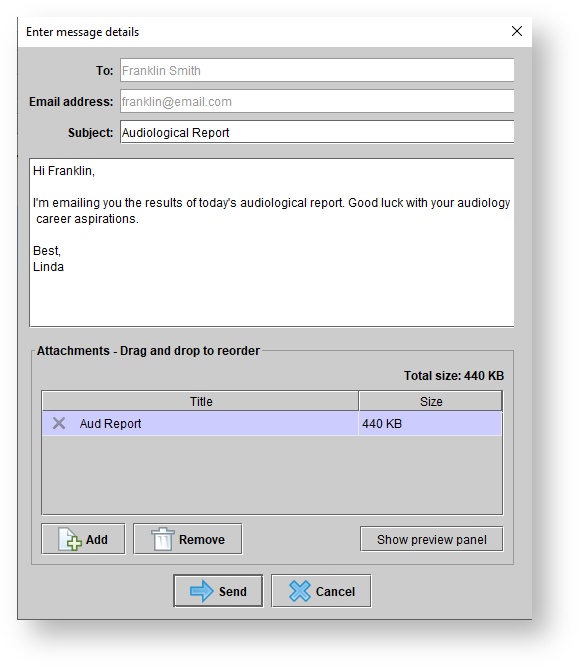 Image Added
- Click .
Faxing an audiological report
- With the report open, click
Image Added - Choose the recipient of the fax. The patient's healthcare providers and insurers will be shown in the menu of options.
- If the document in its present state has not been archived yet, the Edit form options dialog will appear. Choose whether to keep the form editable or not.
Image Added - If the document has not been archived yet, the Add document dialog will appear. Set a name and a category for the document.
Image Added The Enter message details dialog will appear. In it, optionally change the subject, write a fax message, and add more of the patient's documents as attachments. Then click
.
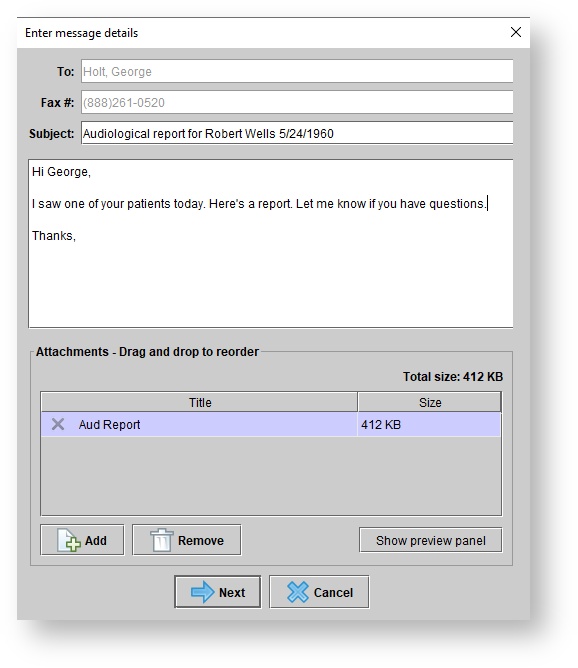 Image Added
| Note |
|---|
The fax message entered here will populate in the {{comments}} field of whichever fax cover page is chosen for the fax. If the audiological report used was one with its own cover page built into a report, it is not advised to add another fax cover page to the fax, and hence it will be inadvisable to enter any message in the Enter message details dialog. |
- The Select correspondence details dialog will appear. In it, choose which, if any, fax cover page template to use, and set the signer. Then, click .
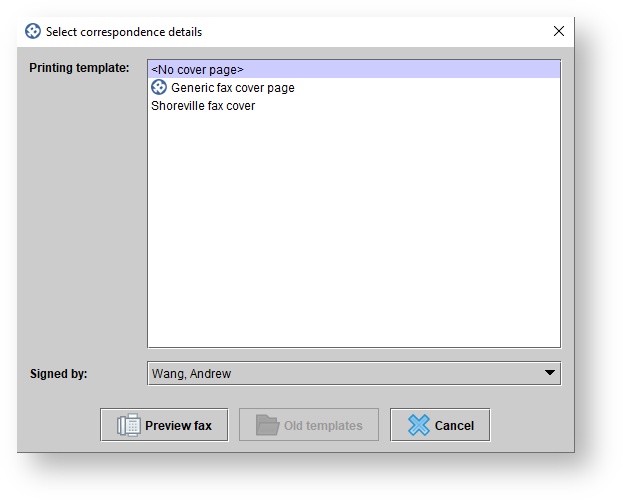 Image Added
 - A preview of the fax will open in a new tab. Click the button at the bottom of that tab.