Enabling templates for electronic signatures
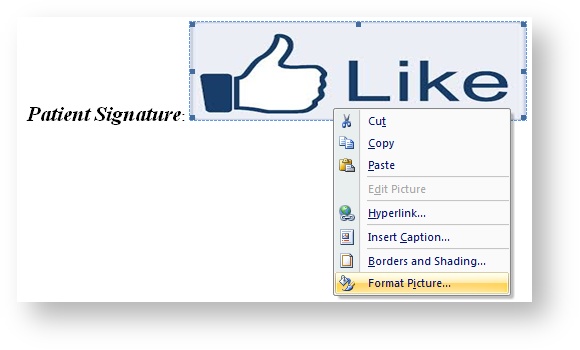
- Place the cursor on the document where the patient signature should be inserted.
- On the Insert tab, in the Illustrations group, click Picture. Select any saved image file, and click Insert. Size and position the image as desired.
- Right-click the inserted image, and select Format Picture.
- In the Format Picture dialog box, click the Alt Text tab.
In the Alternative text section, type the word eSignature (preceding words can be added such as Patient eSignature, Physician eSignature, etc).
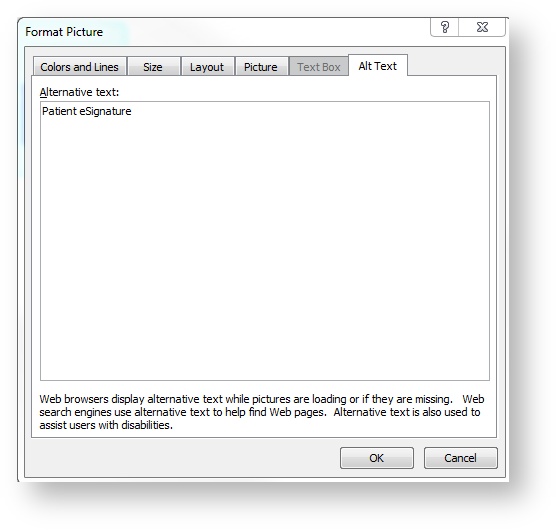
- Click Ok.
When finished, do one of the following:
On the File menu, click Save As.
In Word 2007, click the Microsoft Office button, and then click Save As.
Name the file, utilize the Save as type drop-down menu to select the (*.doc) file, and click Save.
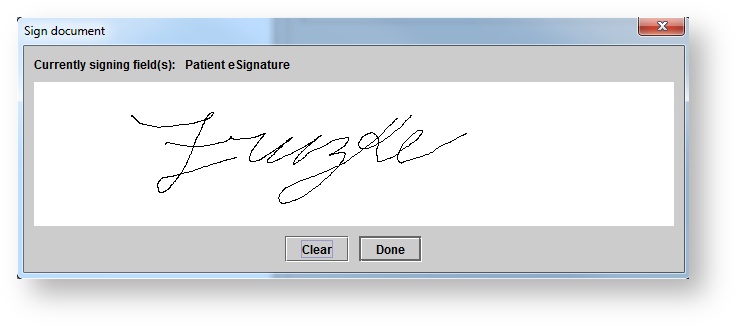
- Once the template has been uploaded or updated in Blueprint, the patient and/or physician can utilize the signature pad to sign the document electronically.
Enabling templates for default staff member signatures
Place the cursor on the document where the default signature should be inserted.
Images of staff member signatures can be sent to support@blueprintsolutions.us to have stored in the database.- On the Insert tab, in the Illustrations group, click Picture. Select any saved image file, and click Insert. Size and position the image as desired.
- Right-click the inserted image, and select Format Picture.

- In the Format Picture dialog box, click the Alt Text tab.
In the Alternative text section, type the word user signature.
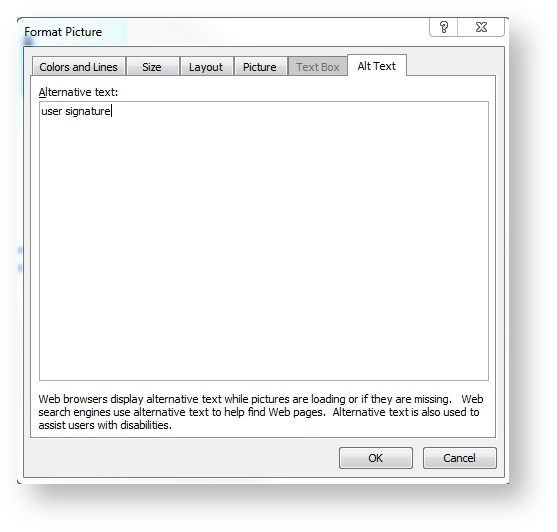
- Click Ok.
When finished, do one of the following:
On the File menu, click Save As.
In Word 2007, click the Microsoft Office button, and then click Save As.
Name the file, utilize the Save as type drop-down menu to select the (*.doc) file, and click Save.
- Once the template has been uploaded or updated in Blueprint, the user can selected a Signed by name when printing a marketing campaign.
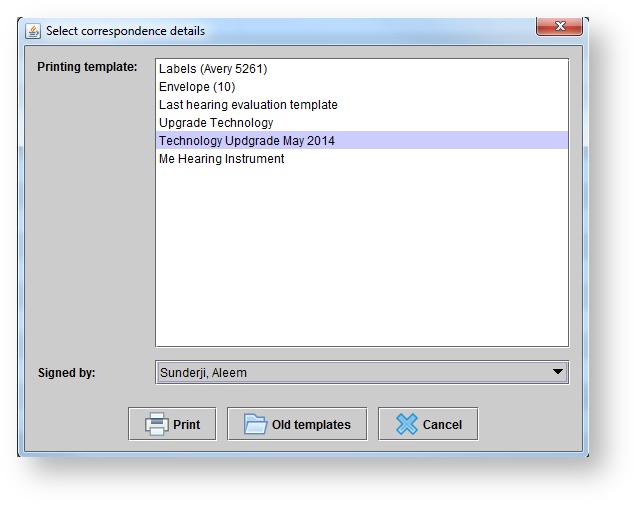
- The default signature will automatically populate on the letter.

Inserting fill-in fields for templates
- Place the cursor on the document where the fill-in field should be inserted.
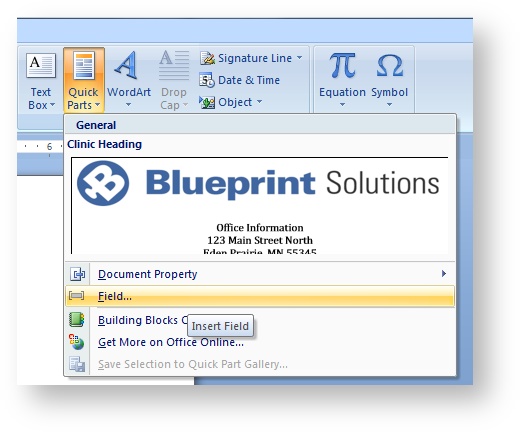
- On the Insert tab, in the Text group, click Quick Parts, and then click Field.
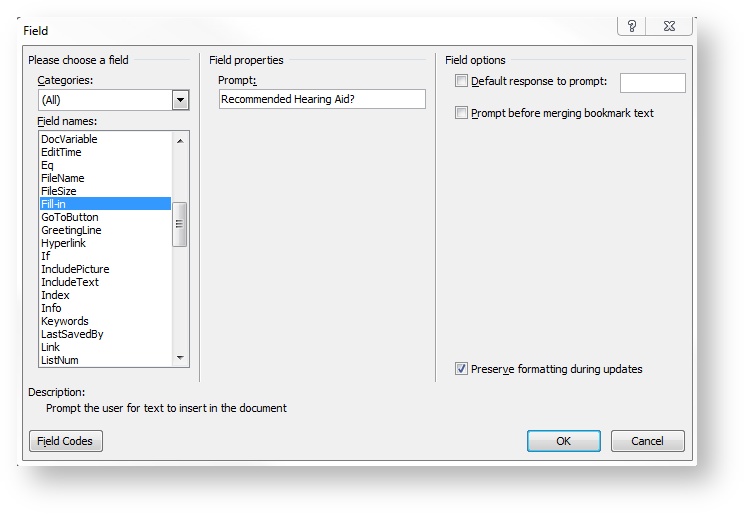
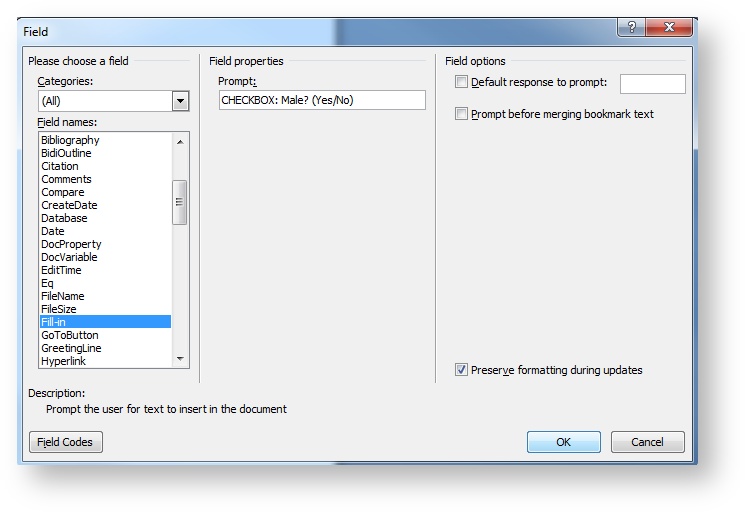
- In the Field dialog box, click Fill-in from within the list of Field names. In the Field properties section, type the question to be answered by the user in the Prompt. Click Ok.
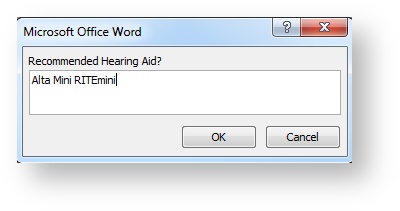
- In the prompt box that appears, enter a sample answer, and click Ok.
When finished, do one of the following:
On the File menu, click Save As.
In Word 2007, click the Microsoft Office button, and then click Save As.
Name the file, utilize the Save as type drop-down menu to select the (*.doc) file, and click Save.
Enabling templates for check boxes
- Place the cursor on the document where the check box should be inserted (delete any existing boxes or symbols).
- On the Insert tab, in the Text group, click Quick Parts, and then click Field.
- In the Field dialog box, click Fill-in from within the list of Field names. In the Field properties section, type CHECKBOX in the Prompt (followed by any question and yes/no indicator). Click Ok.
- In the prompt box that appears, click Ok.
- Repeat steps 1-4 for any check boxes desired on the form.
When finished, do one of the following:
On the File menu, click Save As.
In Word 2007, click the Microsoft Office button, and then click Save As.
Name the file, utilize the Save as type drop-down menu to select the (*.doc) file, and click Save.
Updating templates
Once the template has been enabled for electronic signatures or has had fill-in fields inserted, save the changes in Microsoft Word.
In Blueprint OMS, click the Setup button on the main toolbar.
Click Templates.
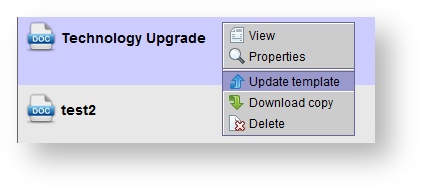
Right-click on the desired template and select Update template.
In the Open dialog box, locate the document and click Open.
In the Document successfully updated confirmation box, click Ok.
To apply changes, close the Setup tab.