| Note |
|---|
| The Word document must be saved as a *.doc file first in order to be enabled for an electronic signature. If using Microsoft Word 2010, save the file as Microsoft Word 97-2003. |
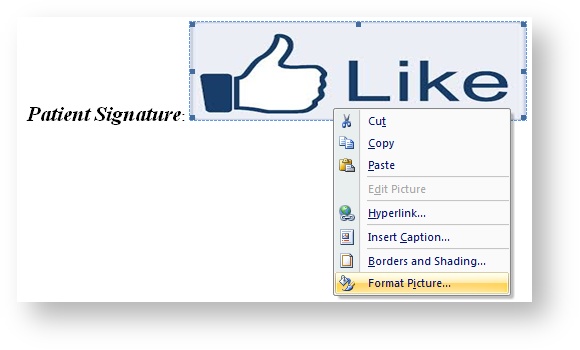
- Place the cursor on the document where the patient signature should be inserted.
- On the Insert tab, in the Illustrations group, click Picture. Select any saved image file, and click Insert. Size and position the image as desired.
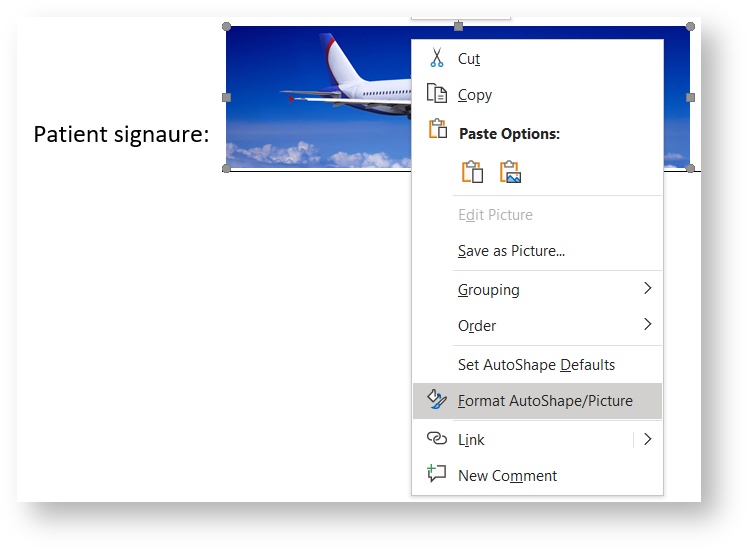
- Right-click the inserted image, and select Format Picture.
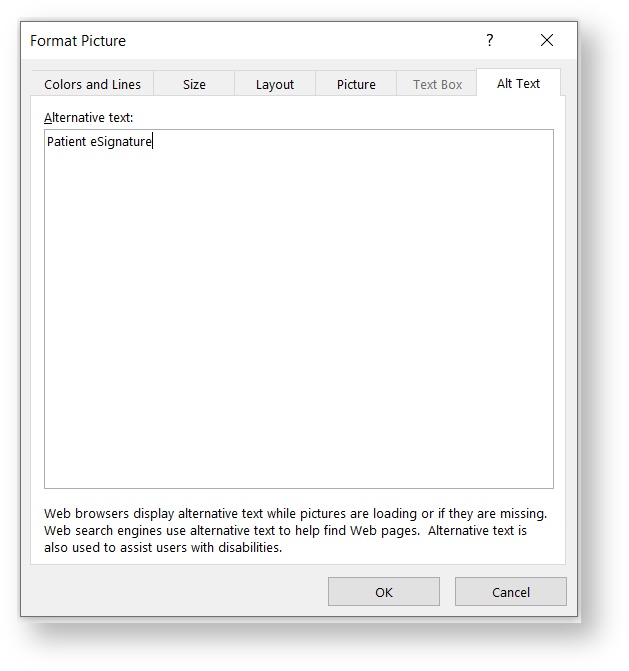
- In the Format Picture dialog box, click the Alt Text tab.
In the Alternative text section, type the word eSignature (preceding words can be added such as Patient eSignature, Physician eSignature, etc).
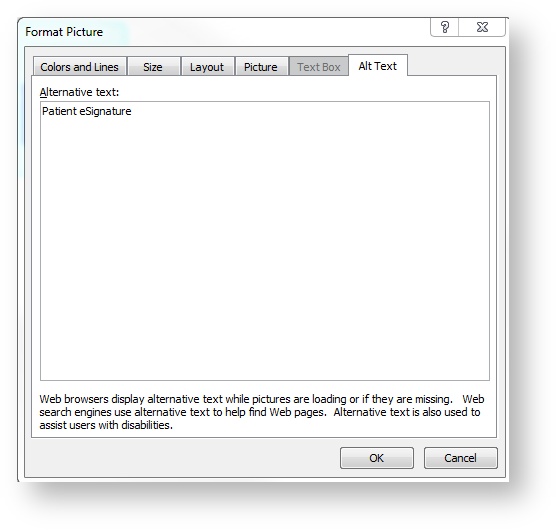
- Click Ok.
When finished, do one of the following:
On the File menu, click Save As.
In Word 2007, click the Microsoft Office button, and then click Save As.
Name the file, utilize the Save as type drop-down menu to select the (*.doc) file, and click Save.
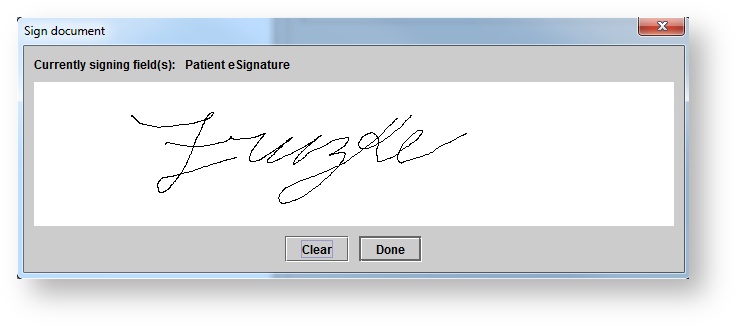
- Once the template has been uploaded or updated in Blueprint, the patient and/or physician can utilize the signature pad to sign the document electronically.
Enabling templates for default staff member signatures
| Note |
|---|
| The Word document must be saved as *.doc file first in order to be enabled for an electronic signature. If using Microsoft Word 2010, save the file as Microsoft Word 97-2003. |
Place the cursor on the document where the default signature should be inserted.
Tip Images of staff member signatures can be sent to support@blueprintsolutions.us to have stored in the database. - On the Insert tab, in the Illustrations group, click Picture. Select any saved image file, and click Insert. Size and position the image as desired.
- Right-click the inserted image, and select Format Picture.

- In the Format Picture dialog box, click the Alt Text tab.
In the Alternative text section, type the word user signature.
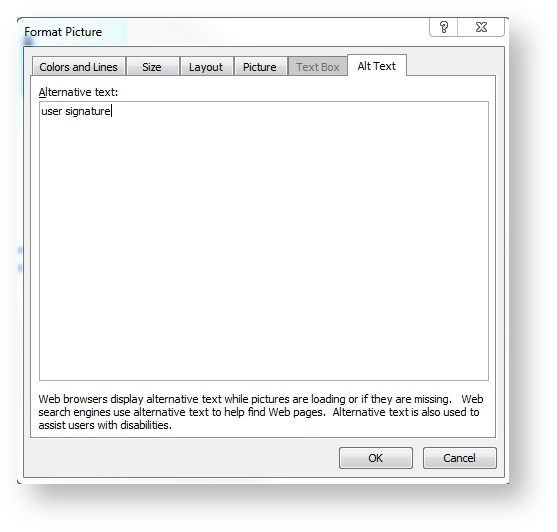
- Click Ok.
When finished, do one of the following:
On the File menu, click Save As.
In Word 2007, click the Microsoft Office button, and then click Save As.
Name the file, utilize the Save as type drop-down menu to select the (*.doc) file, and click Save.
- Once the template has been uploaded or updated in Blueprint, the user can selected a Signed by name when printing a marketing campaign.
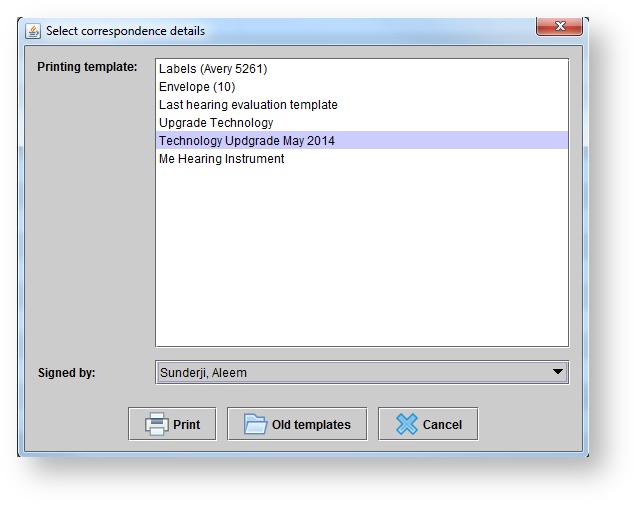
- The default signature will automatically populate on the letter.

Inserting fill-in fields for templates
| Tip |
|---|
| Fill-in fields prompt the user to enter text. The response is printed in place of the field. |
- Place the cursor on the document where the fill-in field should be inserted.
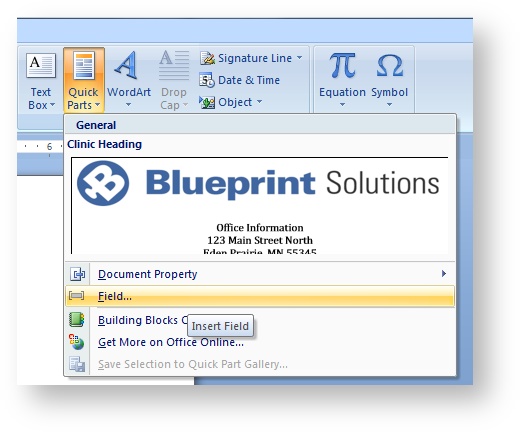
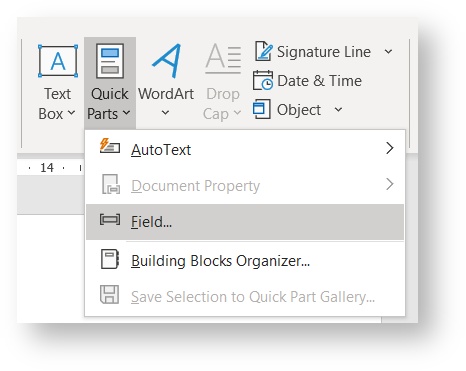
- On the Insert tab, in the Text group, click Quick Parts, and then click Field.
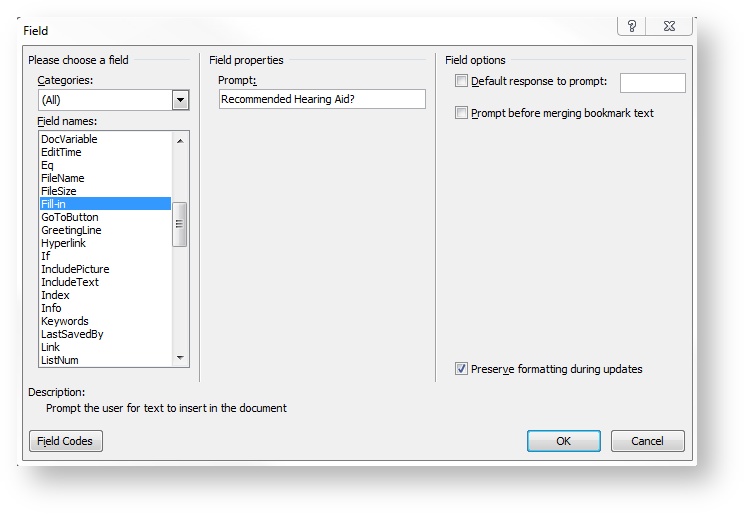
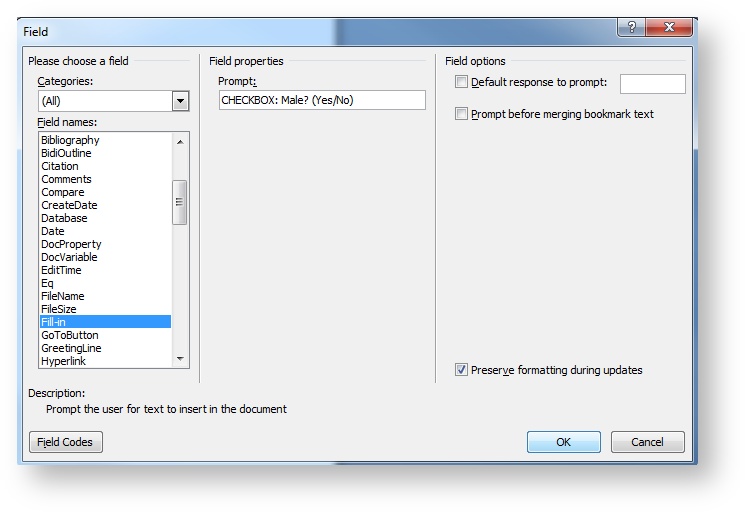
- In the Field dialog box, click Fill-in from within the list of Field names. In the Field properties section, type the question to be answered by the user in the Prompt. Click Ok.
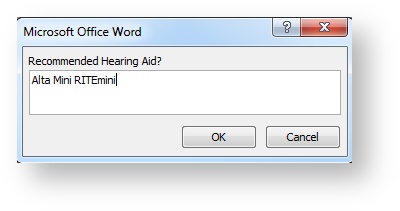
- In the prompt box that appears, enter a sample answer, and click Ok.
When finished, do one of the following:
On the File menu, click Save As.
In Word 2007, click the Microsoft Office button, and then click Save As.
Name the file, utilize the Save as type drop-down menu to select the (*.doc) file, and click Save.
| Tip |
|---|
| See: Uploading templates for more information on uploading the specific template into Blueprint OMS. |
Enabling templates for check boxes
- Place the cursor on the document where the check box should be inserted (delete any existing boxes or symbols).
- On the Insert tab, in the Text group, click Quick Parts, and then click Field.
- In the Field dialog box, click Fill-in from within the list of Field names. In the Field properties section, type CHECKBOX in the Prompt (followed by any question and yes/no indicator). Click Ok.
- In the prompt box that appears, click Ok.
- Repeat steps 1-4 for any check boxes desired on the form.
When finished, do one of the following:
On the File menu, click Save As.
In Word 2007, click the Microsoft Office button, and then click Save As.
Name the file, utilize the Save as type drop-down menu to select the (*.doc) file, and click Save.
| Warning |
|---|
| Check boxes will not function inside text boxes. |
Once the template has been enabled for electronic signatures or has had fill-in fields inserted, save the changes in Microsoft Word.
In Blueprint OMS, click the Setup button on the main toolbar.
Click Templates.
Right-click on the desired template and select Update template.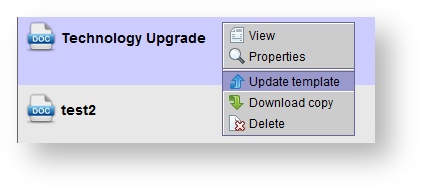
In the Open dialog box, locate the document and click Open.
In the Document successfully updated confirmation box, click Ok.
| Note | ||
|---|---|---|
| ||
Before changing anything else, if your Word document is not already a .doc file, save it as a .doc file. Blueprint OMS is not able to use .docx files as templates. |
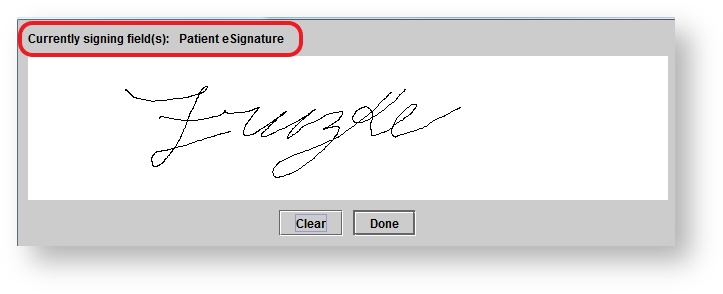
Electronic signature fields
To add an electronic signature field to a form, place a picture—any picture—at the spot on the form where the electronic signature should go, and put the word "eSignature" in that picture's alt text. Other words can be included in the alt text as well, e.g., Patient eSignature, Provider eSignature, etc.
Multiple electronic signature fields on one form
When a form with electronic signature fields is being generated Blueprint OMS will only prompt for an electronic signature once for each uniquely named eSignature field, and the name of the field will be shown when the user is prompted for a signature.
If multiple eSignature fields on one form have the same alt text, then each of those fields will populate the same electronic signature that was collected for that eSignature field name. To collect different electronic signatures for different places on your form, set different names for the different eSignature fields, e.g., "Patient initial 1 eSignature," "Patient initial 2 eSignature," "Patient eSignature," "Provider eSignature 1," and "Provider eSignature 2."
Quick Part Fields
In the Insert menu of Microsoft word, you can insert a Quick Part Field for more flexibility in displaying information that would otherwise be displayed using regular merge fields.
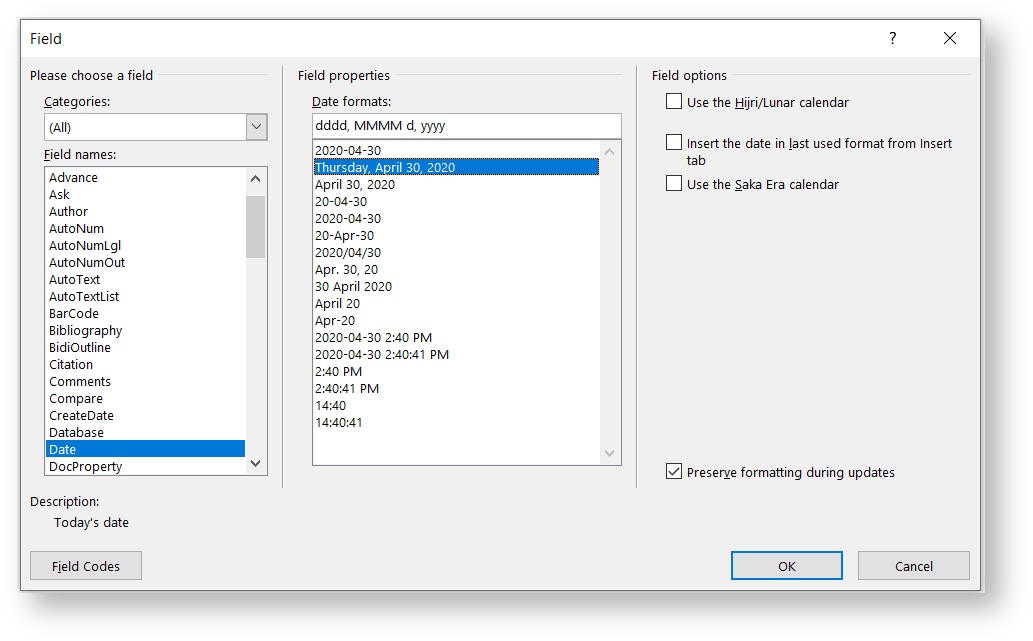
Putting the current date in a different format
Place your cursor where you would like the current date to populate on your form, and go to Insert > Quick Parts > Field. Under "Field names," select "Date" and set your desired date format. Click OK.
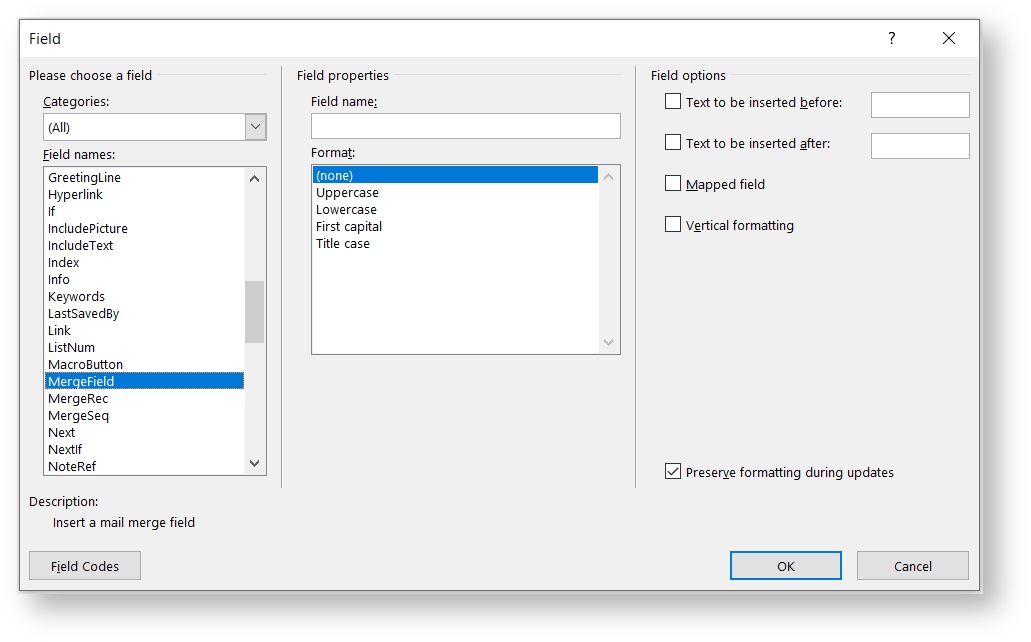
Formatting options for other merge fields
Place your cursor where you would like the merge field data to populate on your form, and go to Insert > Quick Parts > Field. Under "Field names," select "MergeField" and set your desired field properties and options.
| Tip | ||
|---|---|---|
| ||
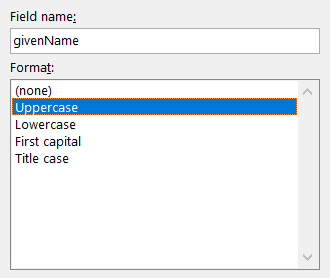
Type the merge field name in the "Field name" field and select the "Uppercase" format option.
The merge field will appear on your document with guillemets.
If you press Alt + F9 to reveal hidden formatting, you will see the following.
|


| Tip | ||
|---|---|---|
| ||
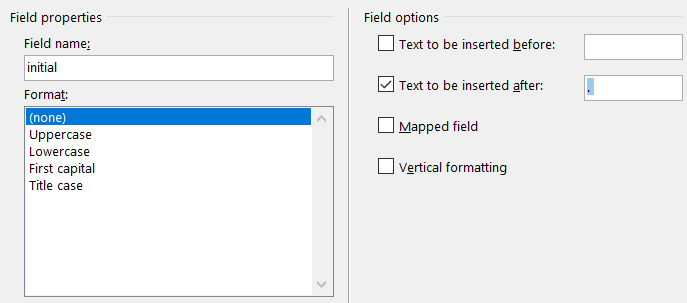
Place the cursor immediately before the patient's surname, and then insert a Quick Part Field, setting "initial" as the field name, and ". " as the text to be inserted after the field.
Your initial field, with guillemets, and the period and the space will appear on your document.
If you press Alt + F9 to reveal the hidden formatting, you will see the following.  |


| Panel | ||||||
|---|---|---|---|---|---|---|
| ||||||
|
| Panel | ||||||||||||
|---|---|---|---|---|---|---|---|---|---|---|---|---|
| ||||||||||||
|