Overview
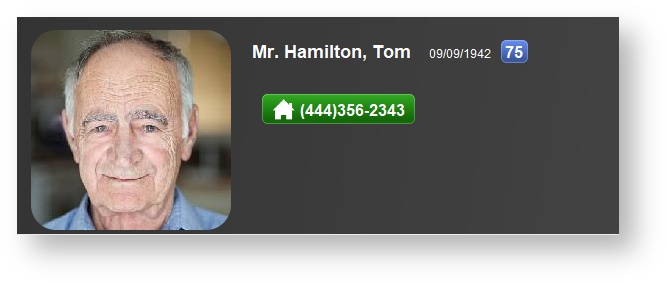
Patient photos in Blueprint OMS make it easy to identify patients, and greet them by name.
Photos are shown in the following places in Blueprint OMS:
Photo sources
Any of the following can be used as a photo source:
- Computer file
- Document archived in Blueprint OMS
- Webcam
- Mobile device or tablet
Steps for uploading a patient photo
- Initiate photo capture
- Select photo source
- Capture photo (or select file)
- Crop and save the photo
Step 1 - Initiate photo capture
Using a webcam, a mobile device/tablet, or a computer file as the photo source
Open the patient's file by double-clicking their name in the patient browser.
Click the photo frame next to their name.
OR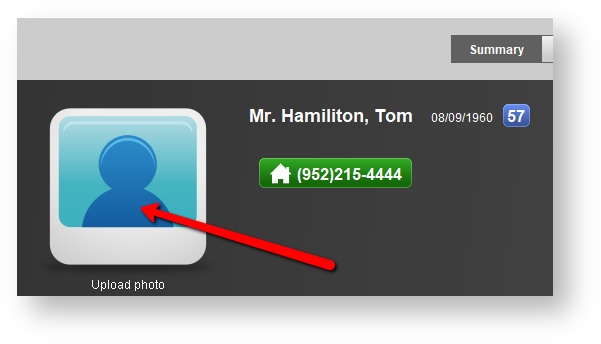
- Highlight the patient's name in the patient browser.
- Click the photo frame next to their name.

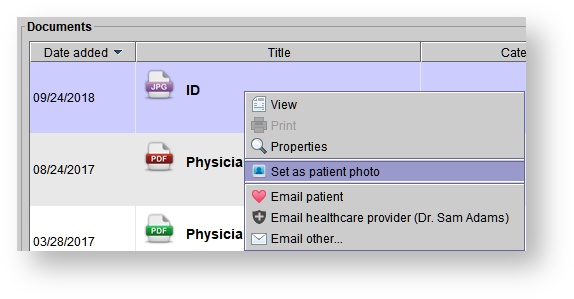
Using an archived document as the photo source
This allows an existing document from the patient's documents tab (e.g. a Driver's license photo) to be set as the patient photo.
- Open the patient's file and select the Documents tab
- Right-click on the desired document in the list
- Select Set as patient photo from the pop-up menu
- Skip to Step 4 - Cropping and saving
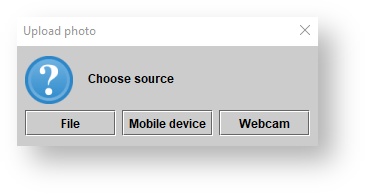
Step 2 - Select photo source
Select the appropriate option from the Upload photo dialog box.
Step 3 - Capture photo (or select file)
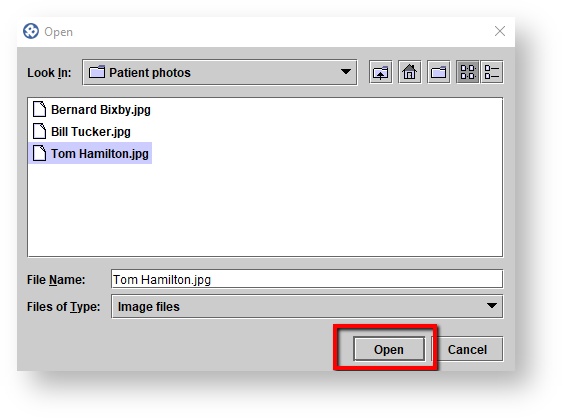
Using a computer file as the photo source
After selecting File from the Upload photo dialog box, navigate to the desired file and click OPEN.
Using a mobile device as the photo source
| Info |
|---|
Before using a mobile device or tablet to capture patient photos, this feature must be configured following the instructions here. |
After selecting mobile device from the Upload photo dialog box, take the patient photo using the mobile device or tablet.
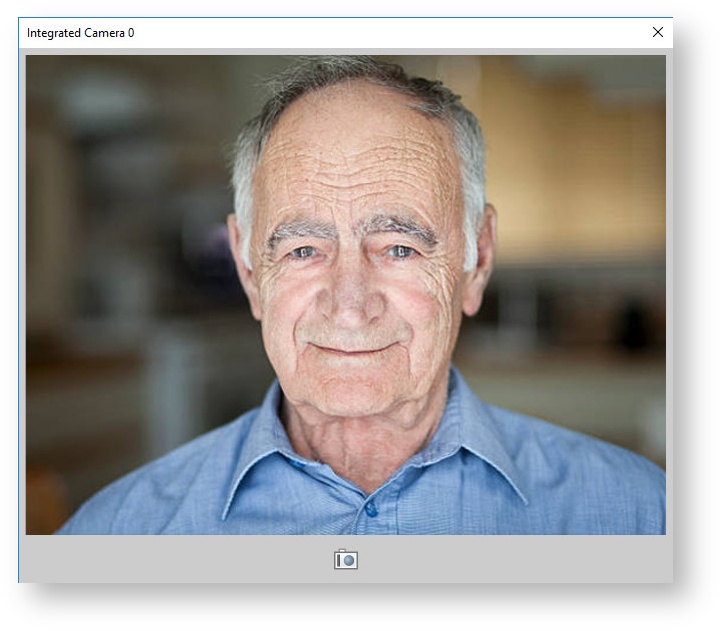
Using a webcam as the photo source
After selecting webcam from the Upload photo dialog box, capture the photo using the Integrated Camera window.
| Tip | ||
|---|---|---|
| ||
Our recommended webcam is the Logitech HD Pro Webcam C920 |
Step 4 - Cropping and saving
Once the patient photo has been successfully captured, it can be cropped to the preferred size within the Edit photo window.
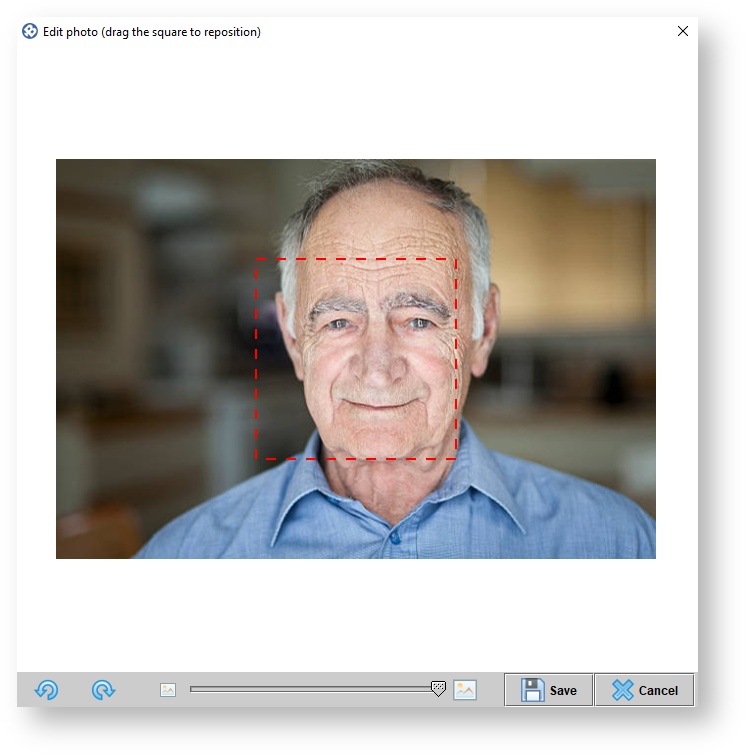
- Drag the red square to position the patient's face within the frame
- If necessary, adjust the magnification using the scroll bar at the bottom of the window
- If necessary, rotate the picture using the blue arrows in the bottom left-hand corner of the window
- Click save
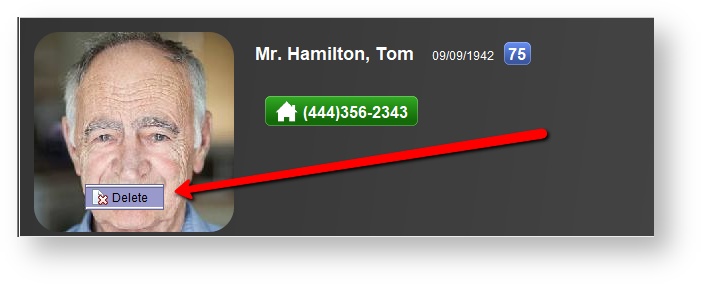
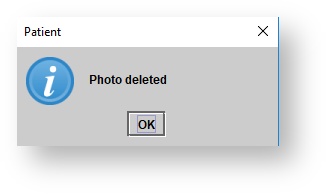
Removing a patient photo
To remove a photo, right-click on it and select delete .
A confirmation dialog will appear.
| Panel | ||||||
|---|---|---|---|---|---|---|
| ||||||
|