Faxing documents
- On the Patient browser tab, open the patient's file.
- Click the Documents tab.
- Select any documents you wish to send (holding down Ctrl to select multiple), right-click, and select a fax option from the menu.'Email/fax'
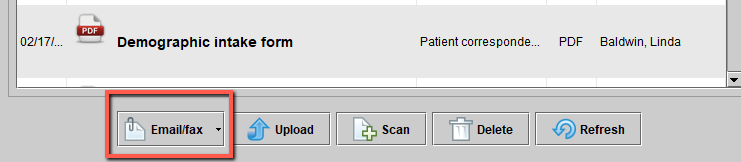 Image Added
4. If selecting Fax other, in the Select fax recipient dialog box, click on another
physician or insurer recipient listed
. Optionally, click
to enter an outside fax number. Image Removed
5. Click
.
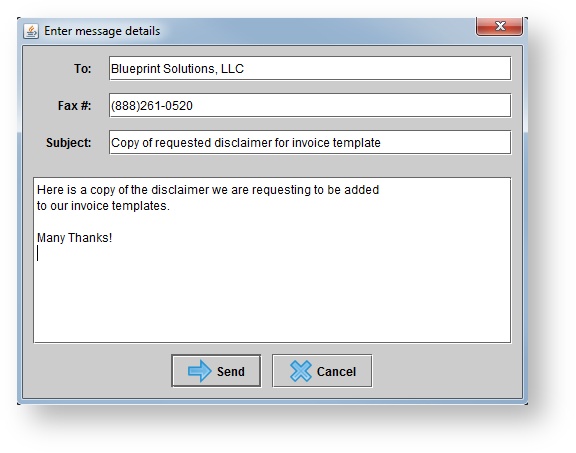
6. Optionally, add a personalized message and click
.
 Image Removed
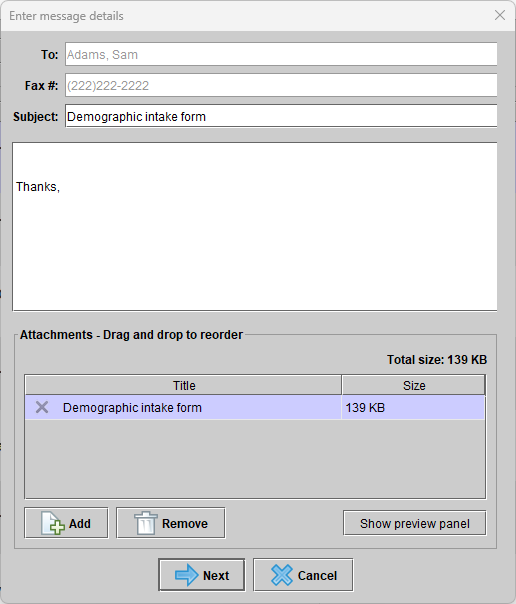 Image Added
7. In the Select correspondence details dialog box, select a Printing template and optionally select a Signed by name.
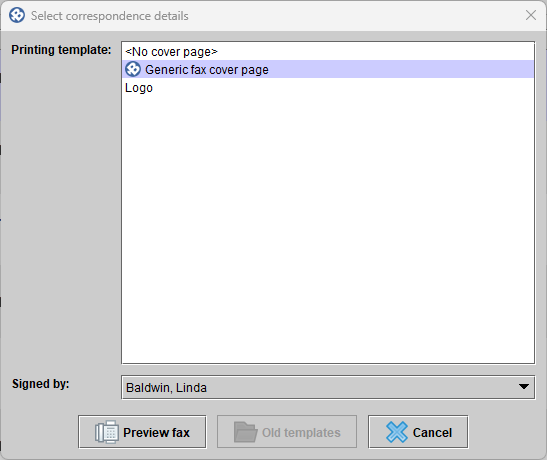 Image Added
8. Click
.
9. A preview of the fax appears for review. Click
.
10. Click Ok on the Fax transmission confirmation box.
Viewing sent faxes
- Click the Communications drop-down menu, and select Fax outbox.
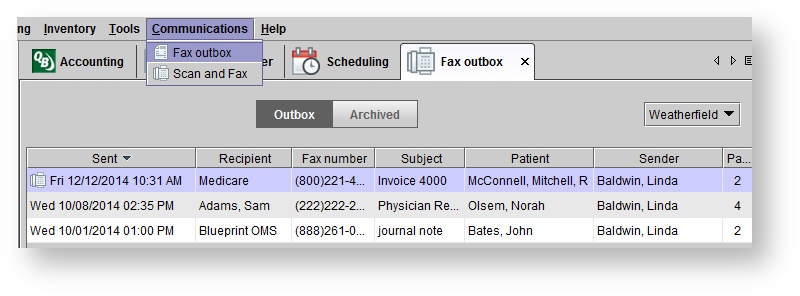
- Optionally, use the location drop-down menu to filter the list of sent faxes based on the location at which the fax was sent.
Click the
tab to view sent documents, or click the tab to view stored documents.- Optionally, click on a document, right-click, and select one of the following:
- View: to open the document.
- Print: to pint a copy of the document.
- Archive/Unarchive: to move the document from the Outbox screen to the Archived screen and vice-versa.
- Download copy: to save a copy to the local computer.
- Delete: to remove the history of the fax completely.
- Retry transmission: to try sending again.
Scanning and faxing
| Tip |
|---|
| The Scan and Fax option allows a document to be scanned and faxed in one step, without first saving to the patient's Documents tab. |
- Click the Communications drop-down menu, and select Scan and Fax.
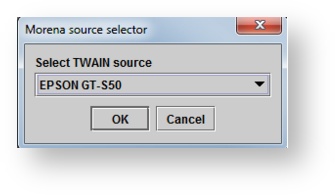
- Select the correct scanner from the drop-down menu and click Ok.
- Set the scanner preferences and complete the scan.
- in the Select fax recipient dialog box, click on a physician or insurer listed. Optionally, click to enter an outside fax number.
- Click .
- Optionally, add a personalized message and click .
- In the Select correspondence details dialog box, select a Printing template and optionally select a Signed by name.
- Click .
- A preview of the fax appears for review. Click .
Click Ok on the Fax transmission confirmation box.
Faxing Status
- No icon indicates the fax has been sent successfully.

- Fax The fax machine icon indicates that the fax is still pending and has not been sent yet.

- Warning The warning symbol indicates that the fax transmission has failed.

| Note |
|---|
| The fax machine icon indicates a pending transmission, and the icon disappears once the transmission is completed. Failed transmissions are indicated with an exclamation mark, and these can be re-transmitted by right-clicking. |