Selecting a location view
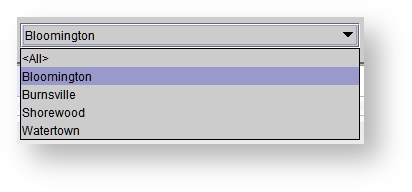
In the top, right-hand corner of the Scheduling screen, click the drop-down menu to select the desired location, if operating in multiple clinic locations. Selecting <All> displays appointments for all clinics.

| Tip |
|---|
< All> can be set as the default location. See: Setting up roles and users for more information. |
Switching between day/week/month views
| Anchor | ||||
|---|---|---|---|---|
|
On the toolbar, click the 1-day, 5-day, 7-day, or 31-day button to switch between views.
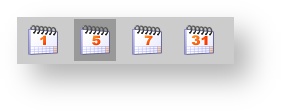

Tip When in the 31-day view, click on the desired day to open to the selected date and switch to the 1-day view. When in the 5-day or 7-day view, click on a desired day in the header to open the selected date and switch to the 1-day view.
Appointment Status Icon
On the toolbar, you have the ability to show or hide the status icons. Select  to hide the appointment status icons. You can view the icon key here.
Moving forward and backward on the schedule
On the toolbar, click the Forward and Back buttons to navigate forward or backward in time.

| Tip |
|---|
In the 1-day view, the Forward button moves to the next day, in the 5-day view it moves to the next week, and in the 31-day view it moves to the next month. |
Viewing today's appointments
On the toolbar, click the ![]() icon to open to the current date and switch to the 1-day view.
icon to open to the current date and switch to the 1-day view.
Viewing patients in the clinic
The Patients in clinic monitor displays on the left side of the Scheduling screen when a location is selected. The patient's name is preceded by the provider's initials.
| Tip |
|---|
For more information, see In clinic monitoring. |
Selecting a date using the annual calendar
On the annual calendar in the lower, left-hand corner of the Scheduling screen, click on the desired date.
| Tip |
|---|
Click the < and > buttons to move to previous or future years. |
Viewing the preview panel
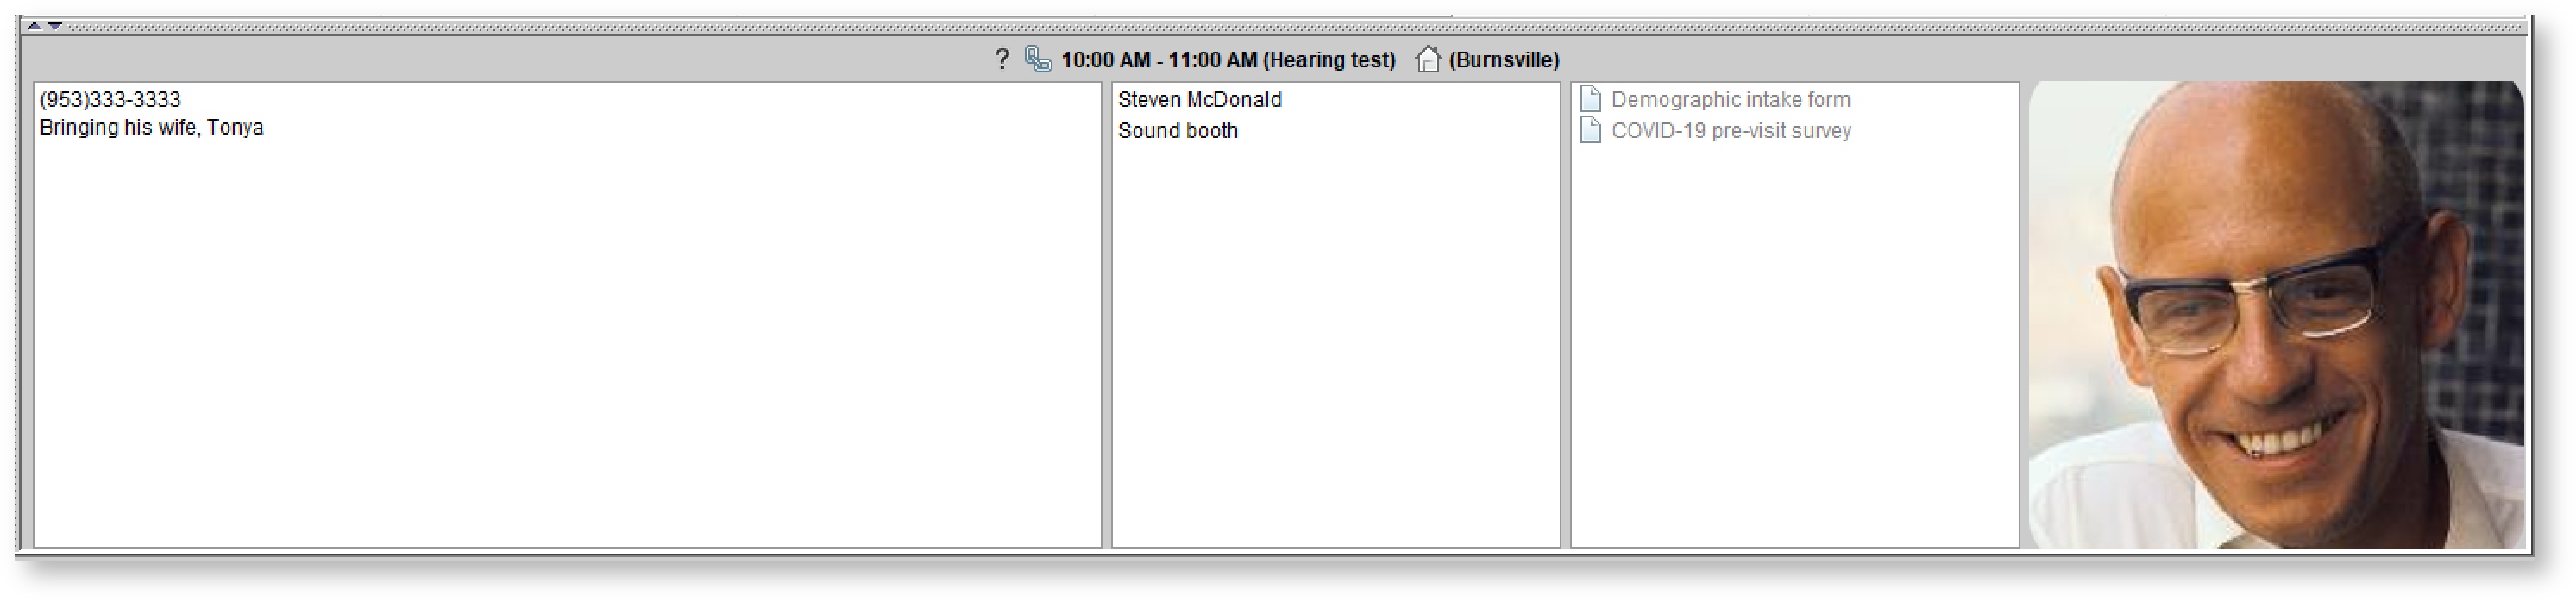
The preview panel is located at the bottom of the schedule. When using the mouse to hover over the desired appointment, the preview panel will show appointment details. The appointment status icon, whether there is a linked journal entry, the time of the appointment, and the type of appointment is displayed. If viewing <All> locations, the appointment location will display to the right of the appointment type. 
The preview panel also displays:
Patient name, phone number, and appointment notes in the first column
Provider and resources in the second column
Any online forms sent with the appointment in the third column
The patient's photo in the fourth column

| Tip |
|---|
See: Entering appointment details for more information. |
Filtering the
calendarschedule by event status
The status drop-down menu is found on the left-hand side of the schedule below the list of clinicians.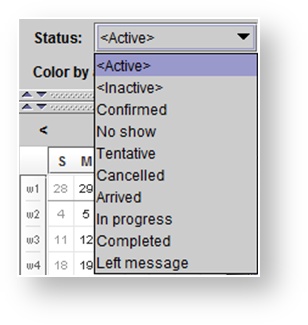

The
<Active><Active> view shows all tentative, confirmed, arrived, left message, and completed events as well as the cancelled and no-show events that require rescheduling
The <Inactive> view shows all deleted and cancelled events and all no-show events that do not require rescheduling
| Panel | ||||||
|---|---|---|---|---|---|---|
| ||||||
|
| Panel | ||||||||||||
|---|---|---|---|---|---|---|---|---|---|---|---|---|
| ||||||||||||
|
| Panel | ||||||
|---|---|---|---|---|---|---|
|