Updating preferred language
- On the Patient browser tab, open the patient's file.
- Click the Marketing tab.
- In the Preferred language panel, click the drop-down menu to select the desired language, and click
.Status title Update - In the Confirm operation dialog box, click Yes to proceed.
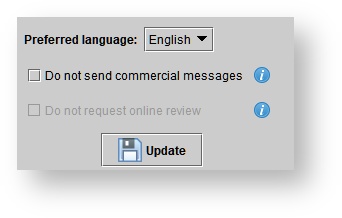
Communication preferences
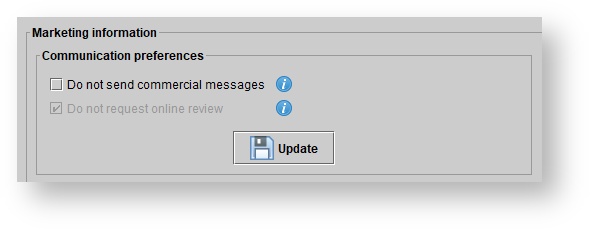
Checkboxes
| Checkbox Name | Checkbox Function |
|---|---|
| Do not send commercial messages | If set, the patient will be excluded from all marketing campaigns marked as commercial. |
| Do not request online review | If set, this patient will be excluded from automated online review exports. |
Stopping patients from receiving commercial messages
- On the Patient browser tab, open the patient's file.
- Click the Marketing tab.
Click the Do not send commercial messages box.
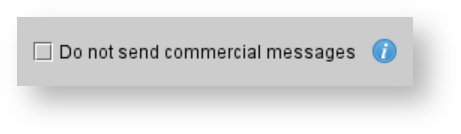
Note The same setting can be accessed in the Details tab, at the bottom.
A patient marked as Do not mail is automatically excluded from any marketing campaigns marked as commercial.
Updating referral information
| Anchor | ||||
|---|---|---|---|---|
|
- On the Patient browser tab, open the patient's file.
- Click the Marketing tab.
- In the Referrer panel select the sale, appointment or patient created date.
- Rick click and select Edit referral source.
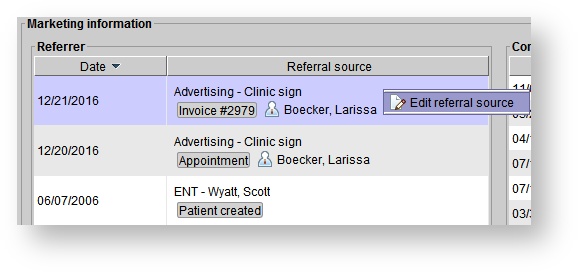
4. In the Patient referral source dialog box, select the new referral source.
5. Click Continue.
| Tip |
|---|
If the patient was referred by another patient you can select the "show patients" button and search for the patient |
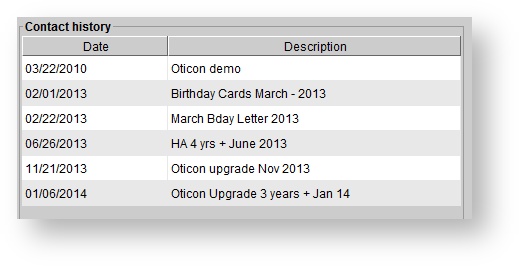
Viewing contact history
- On the Patient browser tab, open the patient's file.
- Click the Marketing tab.
- View the Contact history panel to see the date and name of any marketing campaigns which have included the patient.
Viewing recall history
- On the Patient browser tab, open the patient's file.
- Click the Marketing tab.
- View the Recalls panel to see the following information:
- Recall date
- Recall type
- Assignee
- Notes
- The outcome for completed/canceled recalls.
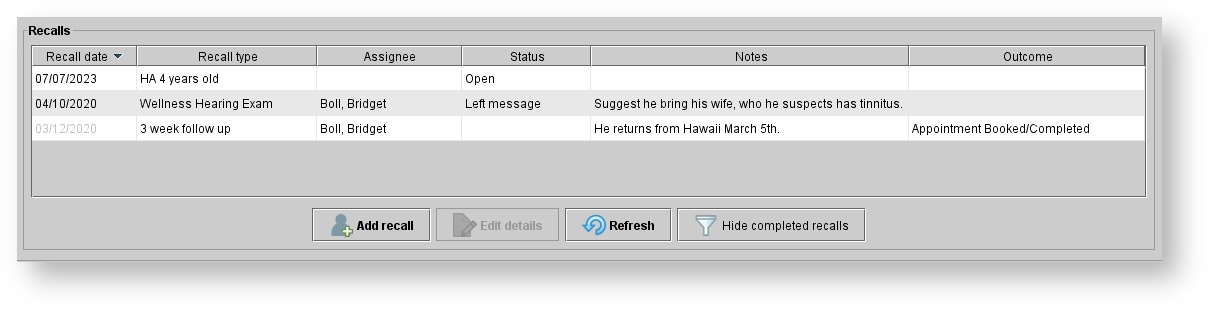
4. Optionally, click on the Hide completed recalls button to remove all completed recalls from your view
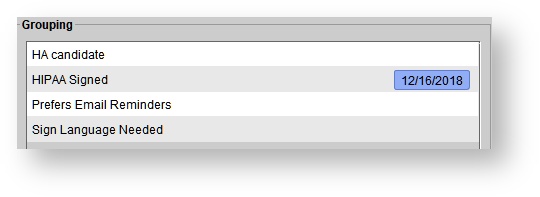
Adding patients to groupings
- On the Patient browser tab, open the patient's file.
- Click the Marketing tab.
- In the Grouping panel, click
.Status title Add In the Select groups dialog box, click on the desired group(s) and click Ok.
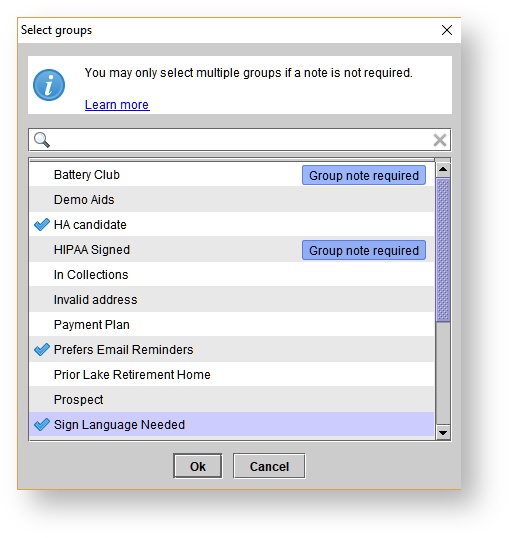
| Note |
|---|
You may only select multiple groups if a note is NOT required |
Editing Group Notes
- On the Patient browser tab, open the patient's file.
- Click the Marketing tab.
- In the Grouping panel, highlight a patient group and click
Status title Edit group notes - In the Edit group notes dialog box, type in the note or date needed.
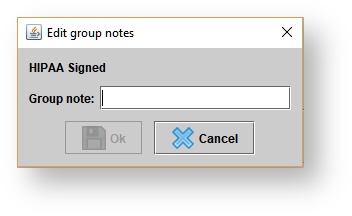
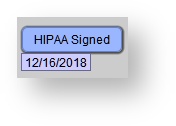
5. The patient note will appear in the following places:
- Next to the patient group in a blue bubble
- On the patient summary tab when you hover over the patient group
| Note |
|---|
There is a 30 character limit to the group notes |
Stopping patients from receiving commercial messages
Click the Do not send commercial messages box.
| Note |
|---|
The same setting can be accessed in the Details tab, at the bottom. A patient marked as Do not mail is automatically excluded from any marketing campaigns marked as commercial. |
Marking patients cash sales only
In the Confirm operation dialog box, click Yes.
| Panel | ||||||
|---|---|---|---|---|---|---|
| ||||||
|
| Panel | ||||||||||||
|---|---|---|---|---|---|---|---|---|---|---|---|---|
| ||||||||||||
|
| Panel | ||||||
|---|---|---|---|---|---|---|
| ||||||
|