Overview
With the QuickBooks integration, financial information in Blueprint OMS can be synchronized to your QuickBooks Windows Desktop company file, eliminating the need for users to manually double-enter that information into QuickBooks. In particular, any customers, items, or transactions, created or updated by any user in Blueprint OMS will also be created in the QuickBooks company file.
Versions of Blueprint OMS prior to v4.0 provided a real-time QuickBooks integration. As of v4.0, the QuickBooks integration is taking the more resource-efficient form of a batch synchronization capability, where the batch synchronizations are initiated by a Blueprint OMS user with the Accounting synchronization user privilege, on the Windows computer hosting the company file.
Prior to v4.0: real-time QuickBooks integration
With the real-time QuickBooks integration, the computer hosting the accounting link would need both Blueprint OMS and the QuickBooks company file open, with the accounting link in Ready status whenever transactions were to be entered into Blueprint OMS so that they would flow to to QuickBooks. This process proved error-prone and burdensome in terms of clean-up work, and gave way to a new synchronization solution that does not require the accounting link to be ready whenever transactions are being logged into Blueprint OMS.
The QuickBooks synchronization module
Users with the Accounting synchronization privilege will be able to access the QuickBooks synchronization module via the Accounting dropdown menu > QuickBooks synchronization. This screen can be accessed from any computer that has Blueprint OMS installed, but synchronization can only be initiated from the computer with the accounting link.
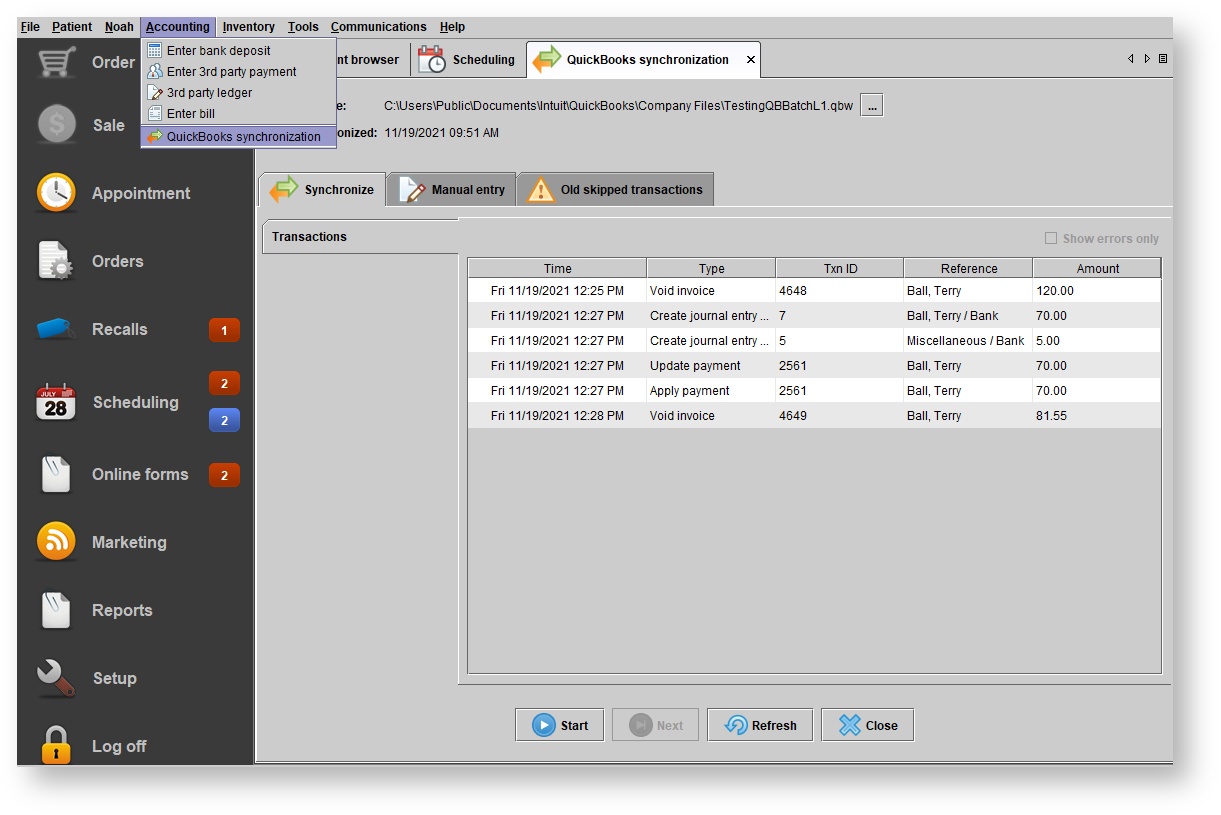
At this screen, you will see the following options:
Company file

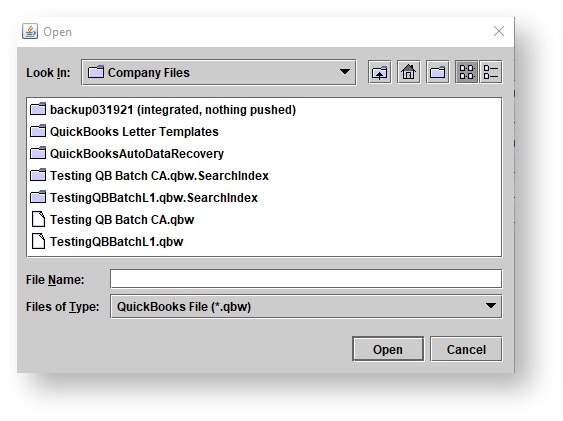
If your system has been integrated with QuickBooks already, you will see your company file path displayed here. You can use the hamburger button, which opens a file selection dialog, to specify the new path of your company file if it has been moved.
The Synchronize tab
In the Synchronize tab, you will see the transactions that have yet to be synchronized. To synchronize them, click Start. This action is only possible at the Windows computer hosting the QuickBooks company file.
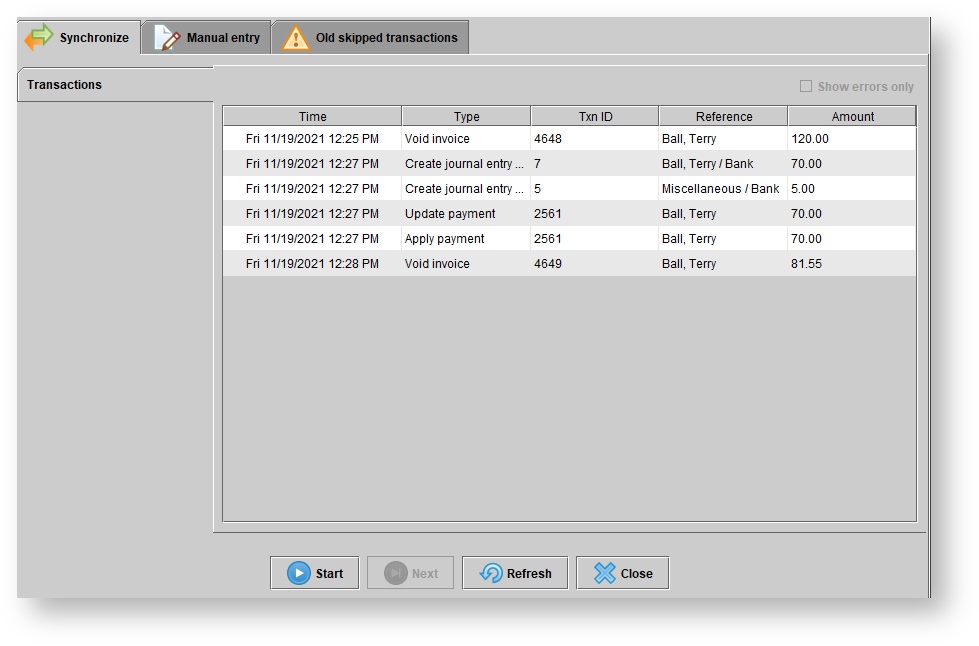
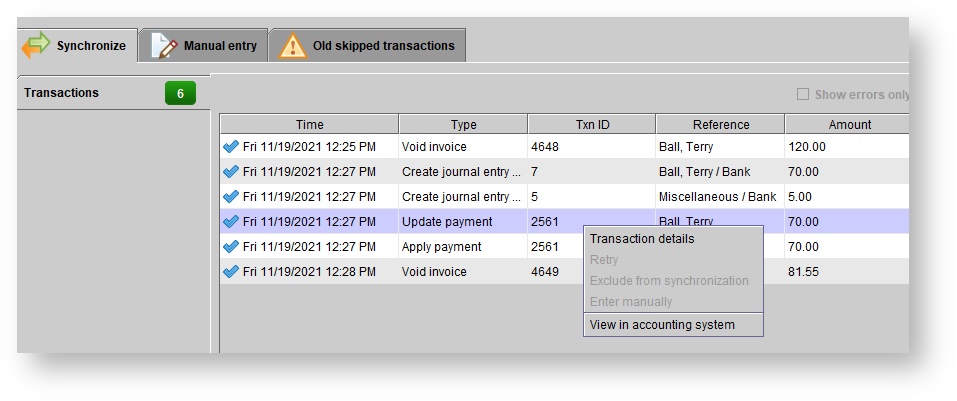
After a successful synchronization, you will be able to see what has just been synchronized, and you will have a menu of options for getting more information about the transaction, depending on the message type.
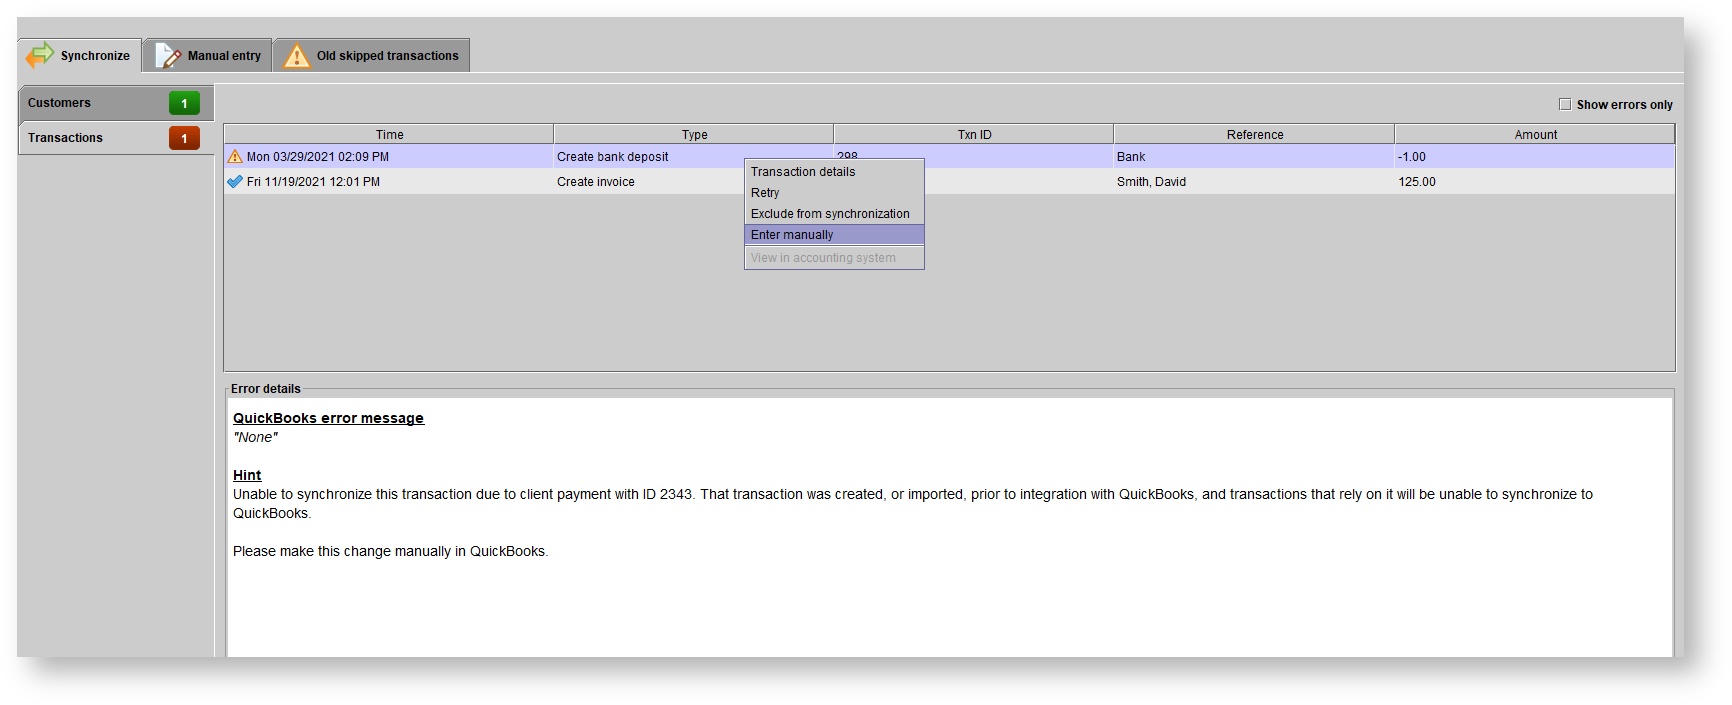
After an unsuccessful synchronization, you will see an error message suggesting a resolution. You can retry these messages or mark them for manual entry. Then, you can refresh the Synchronize tab.
The Manual entry tab
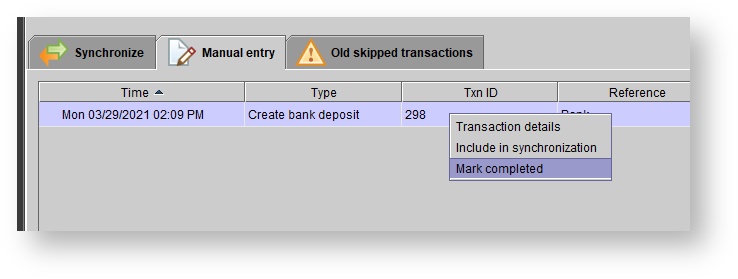
In the Manual entry tab, you will see transactions that are to be entered manually into QuickBooks, as designated by a Blueprint OMS user.
At first, there will be no transactions in this tab.
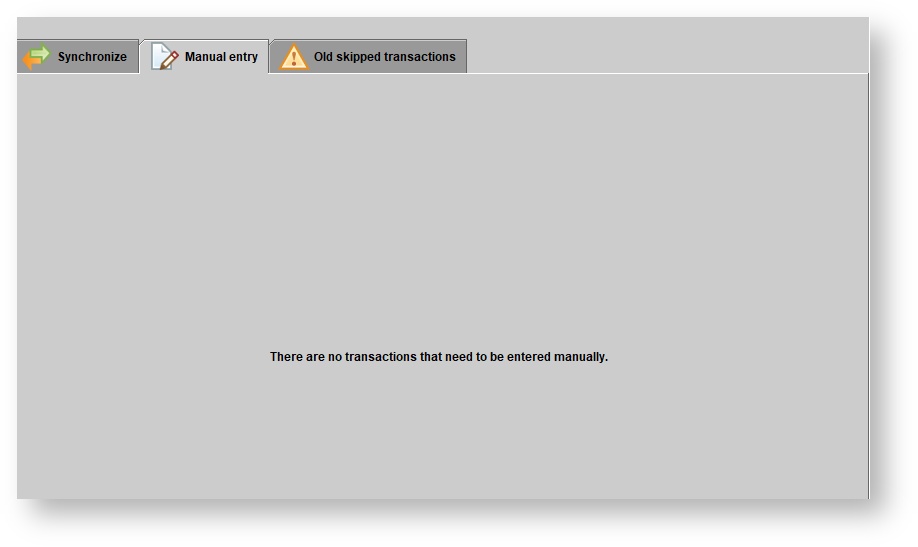
As synchronization attempts fail (in the case that a transaction references another transaction or element that does not exist in QuickBooks), users can mark those failed attempts as “Enter manually,” and return to this screen to mark these manual entries completed when done. This tab can serve as a to-do list.
The Old skipped transactions tab
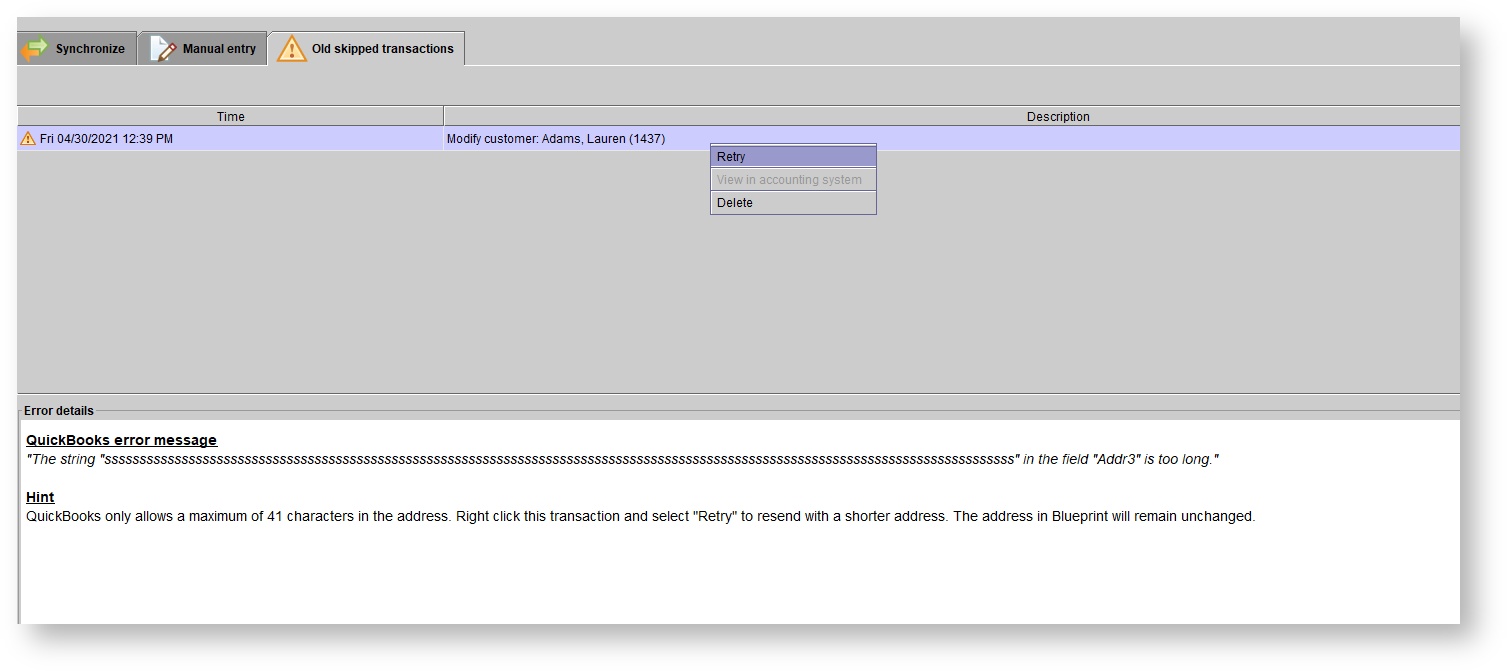
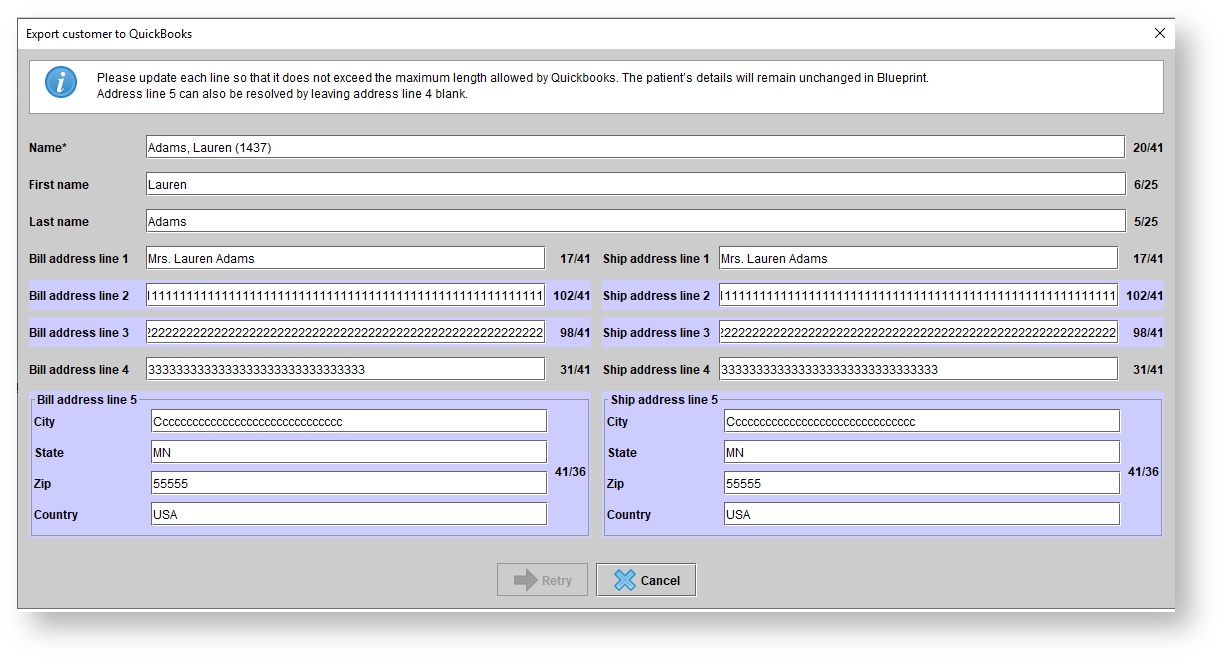
In the Old skipped transactions tab, you will see any old skipped transactions from before the upgrade to v4.0. Some of these transactions can be retried, but others will have to be resolved by our technical team.
