Overview of the patient Audiology tab
- In the patient's Audiology tab, view or enter results of hearing assessments.
- Add and remove diagnosis codes
- Add and remove patients from patient types
- Display select journal entries and documents, and optionally link them to hearing assessments
Viewing hearing assessments, documents, and journal entries
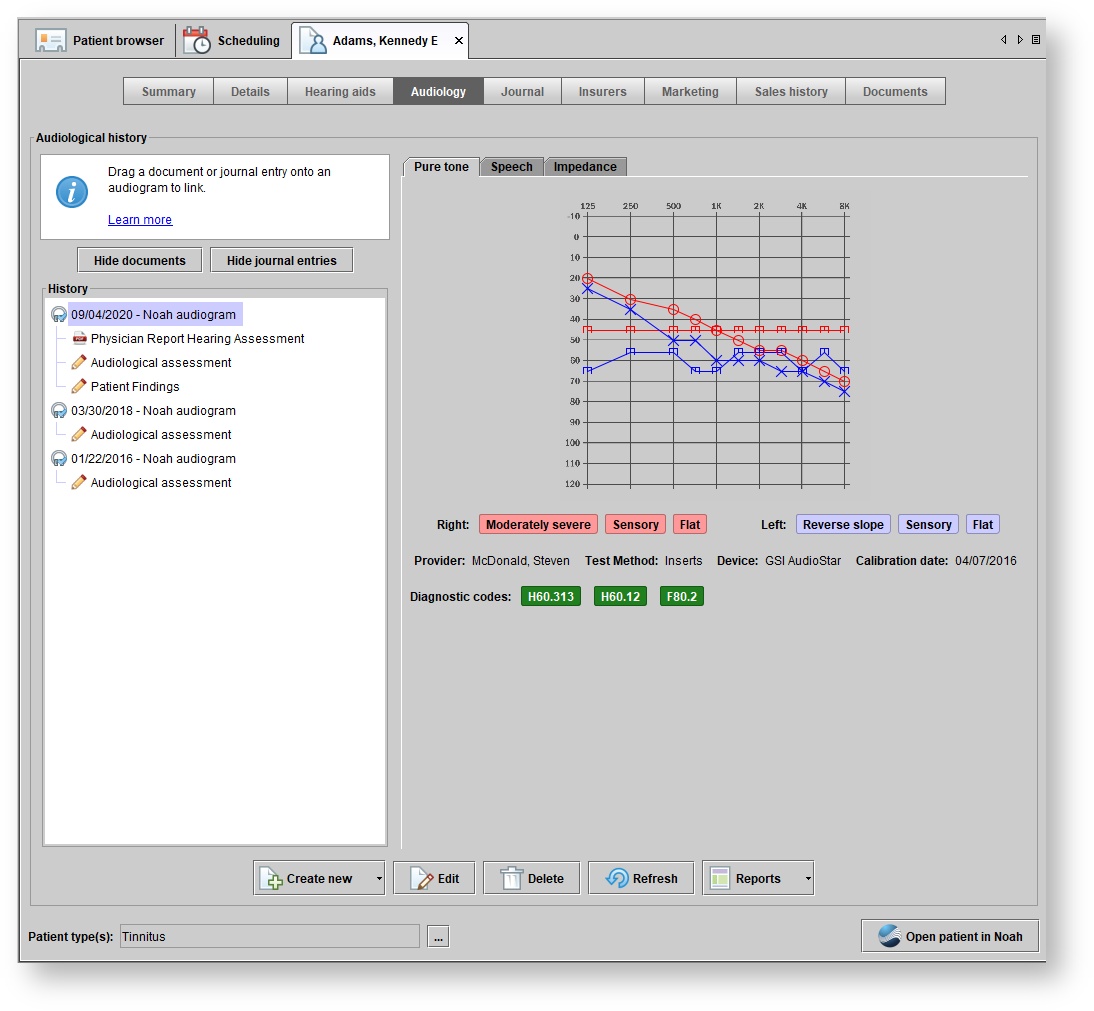
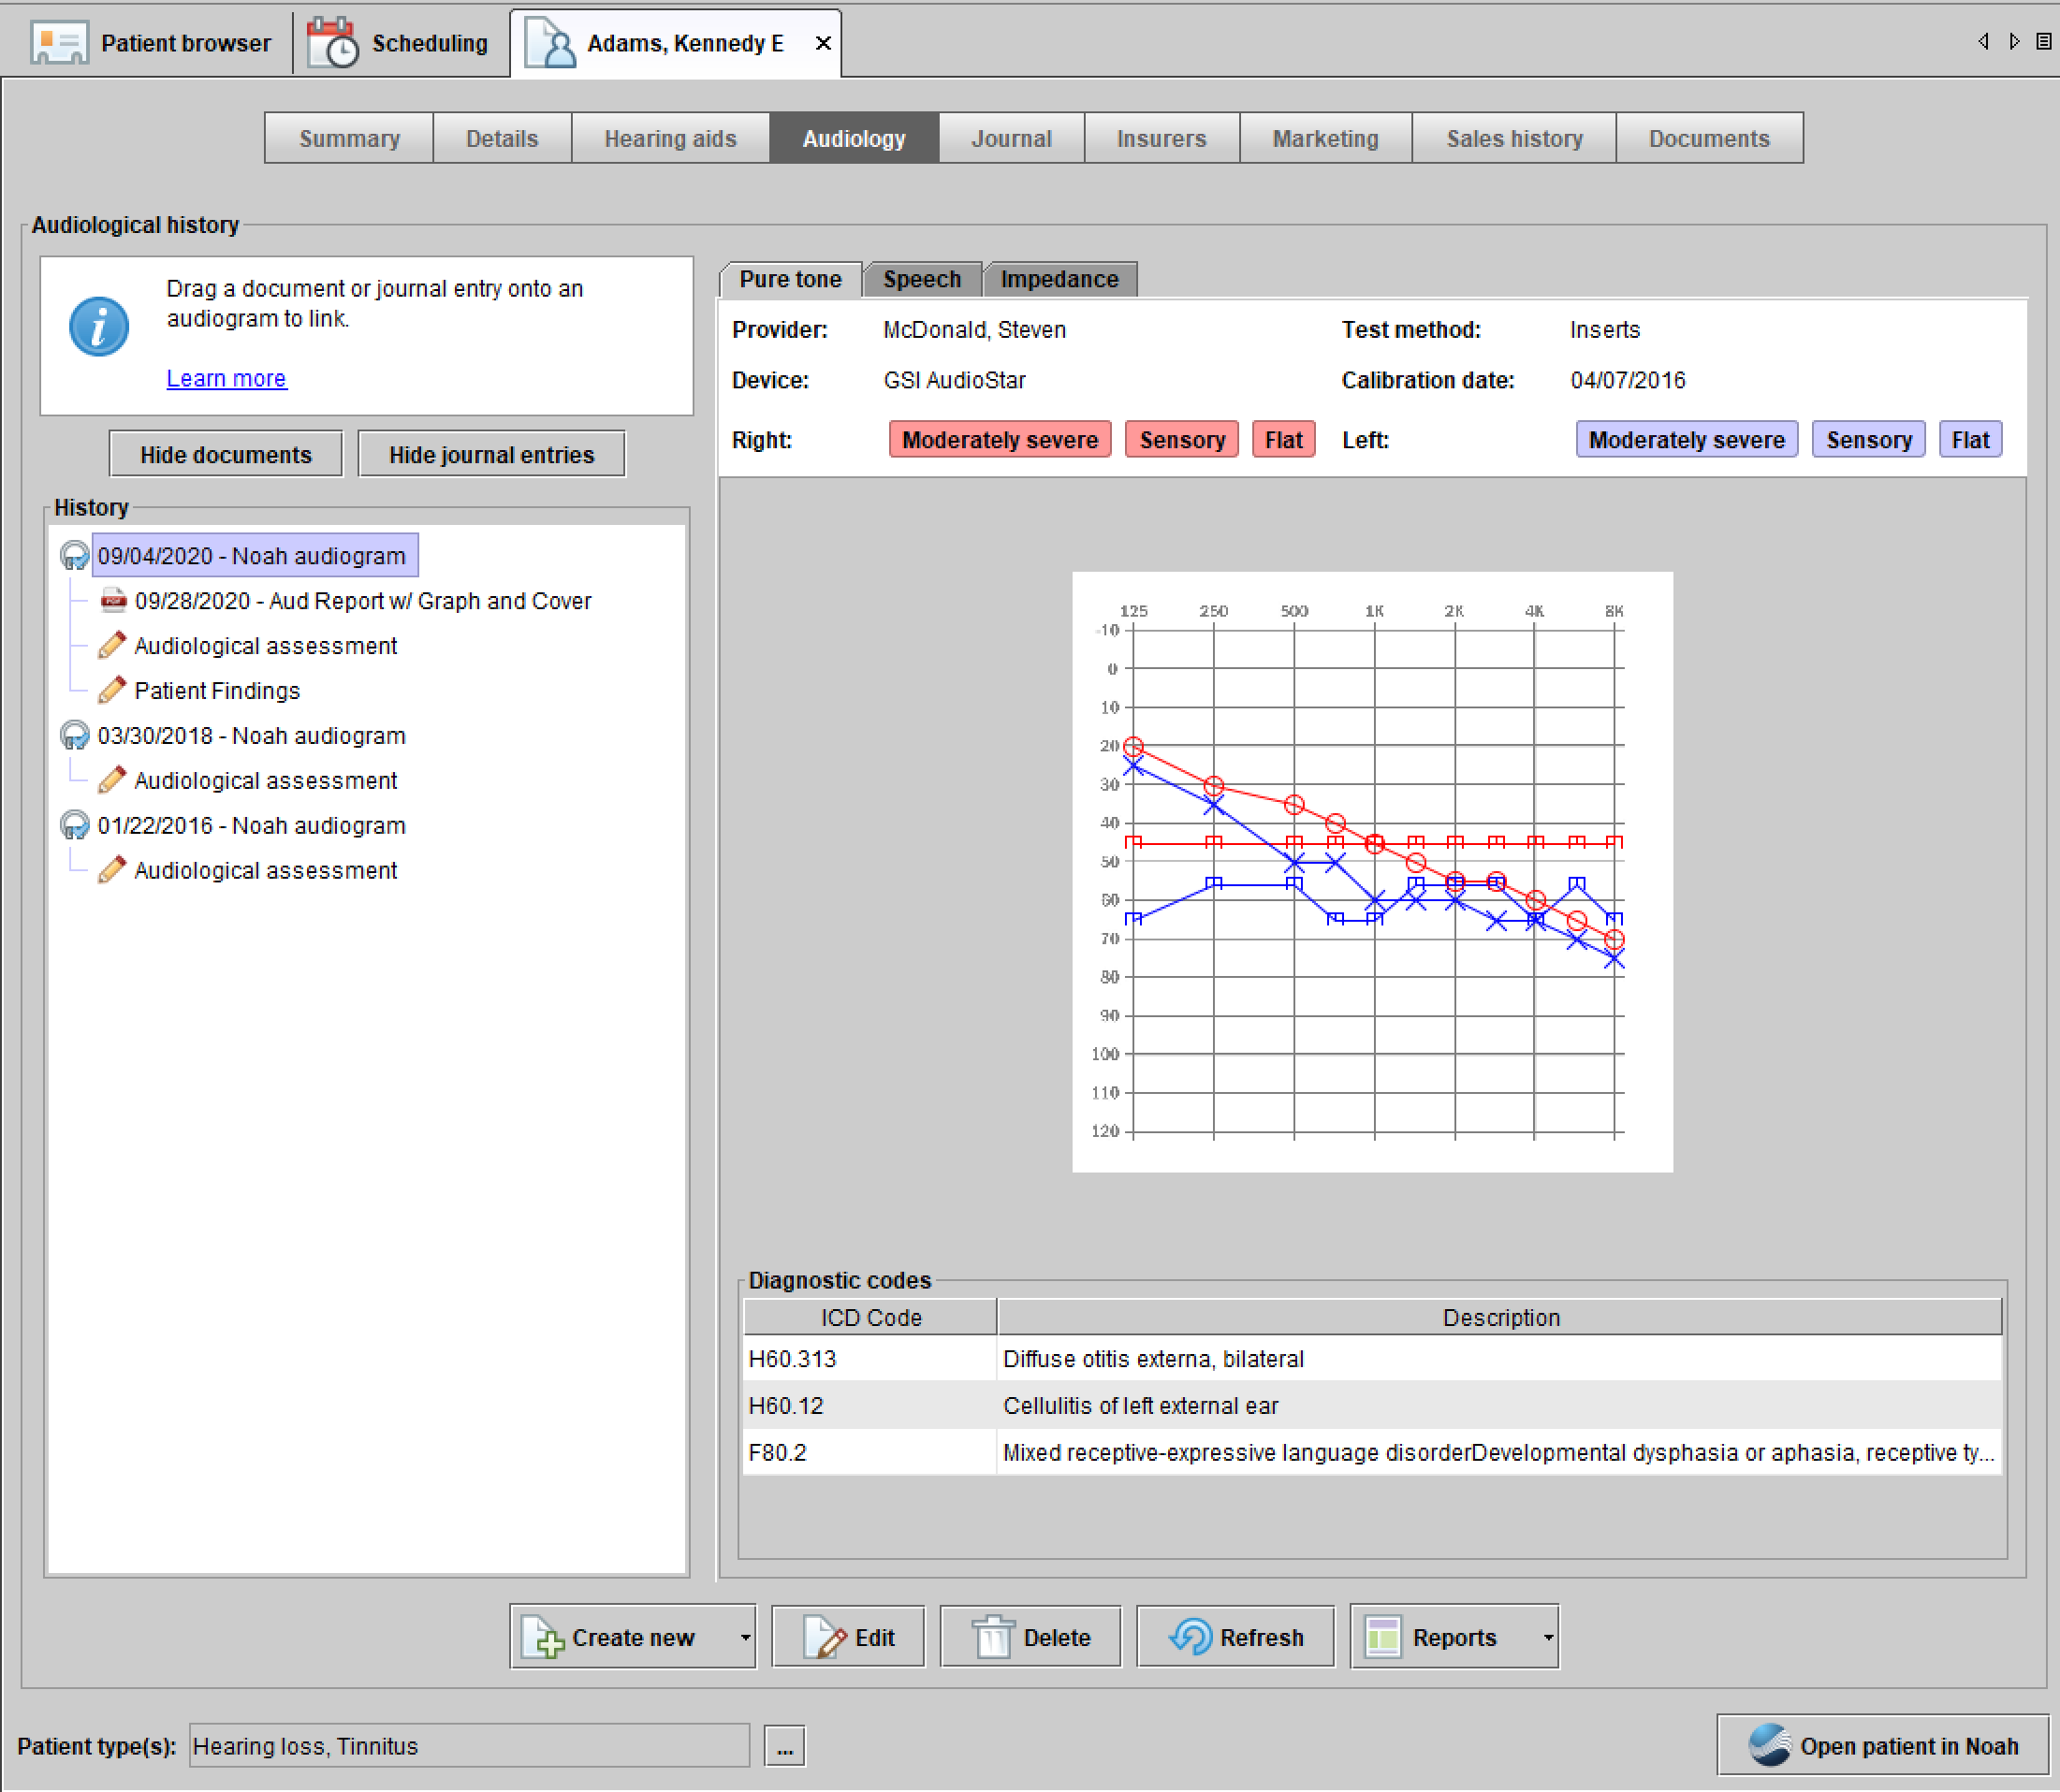
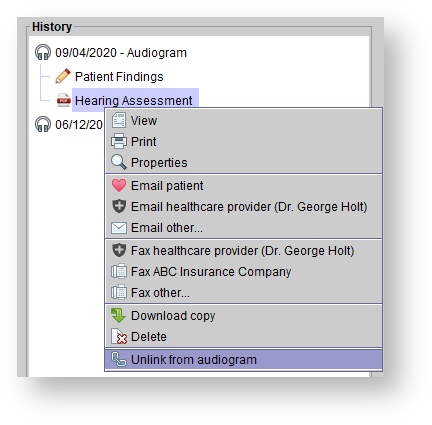
Every patient file has an Audiology tab, which shows the patient's audiological history, which contains the patient's hearing assessments as well as any documents and journal entries that have Display in audiology set. Documents and journal entries can either be linked to audiograms or not. Click on any of the items listed in the History panel to see its details in the viewing area on the right. Audiological assessments, indicated by the headphones icon, have tabs showing Pure tone, Speech, and Impedance information.
| Tip |
|---|
Document categories and journal entry types have default have Display in audiology settingsby default settings. The Display in audiology setting can be individually modified for each document and journal entry.
|


Entering new hearing assessments
- Enter the Audiology tab of a patient's file.
Toward the bottom of the screen, click
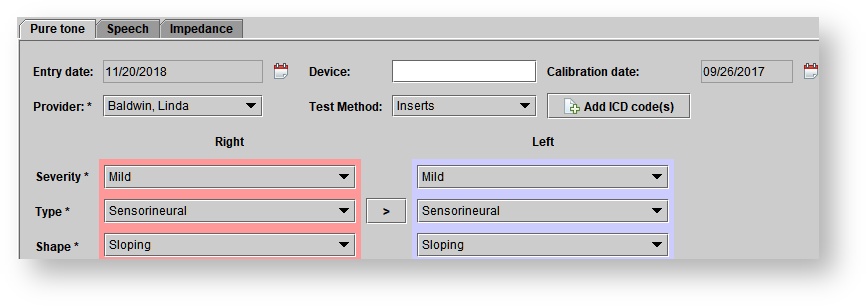
> Audiogram.Status title Create new In the Enter test results dialog box, input the Entry date, Provider, and Test Method, along with the hearing loss Severity, Type, and Shape for both the right and left ear.
Click
.Status title Save
| Tip |
|---|
Click the Copy |

| Note |
|---|
The list of providers includes all users who have the role Audiologist or Specialist. For more information, see: Setting up roles and users. |
| Tip |
|---|
The assessment is saved as an entry within the History panel on the left side of the screen. View and edit any historical assessment entries by navigating through the list of assessment dates within the margin. |
Entering diagnostic codes
| Anchor | ||||
|---|---|---|---|---|
|
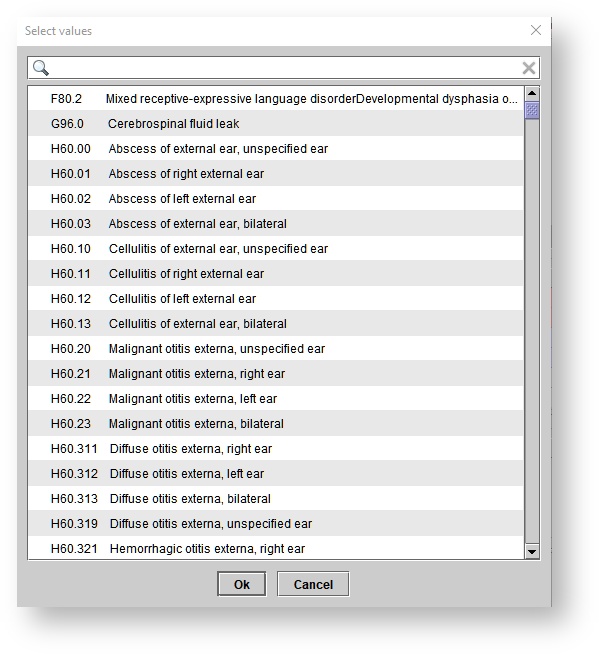
In the Enter test results dialog box, click
.Status title Add ICD code(s) In the Select values dialog box, click the appropriate codes.
- Click
.Status title Ok
| Tip |
|---|
Use the Quick Find field to type the first few numbers/letters of the desired code. |
| Tip |
|---|
To remove a diagnostic codes that was entered by mistake, click on the code's row's 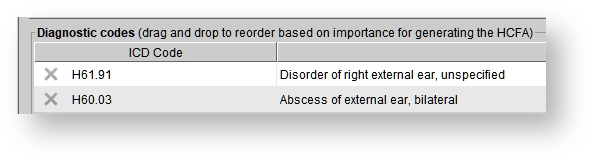 |

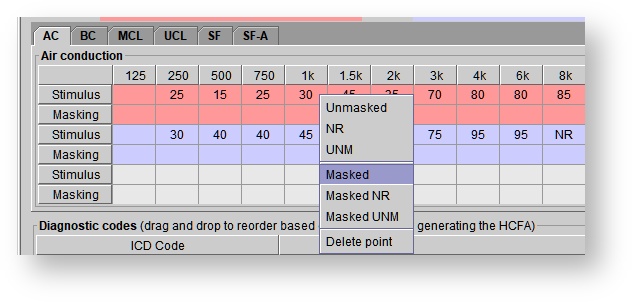
Entering audiometric data points
In the Enter test results dialog box, click into a cell within the Air conduction, Bone conduction, MCL, UCL, SF, and SF-A table.
Enter the desired numbers and press the Tab key on the keyboard to move to the next cell.
- If needed, right-click on a cell within the Air conduction, Bone conduction, MCL, UCL, SF, and SF-A table to mark an Unmasked, No response, Unmeasurable, Masked, Masked No Response, or Masked Unmeasurable.
- If needed, add a value in the masking row to mask the stimulus point above it.
- If needed, right-click on a cell within the Air conduction, Bone conduction, MCL, UCL, SF, and SF-A table and click Delete point to remove the point from the assessment.
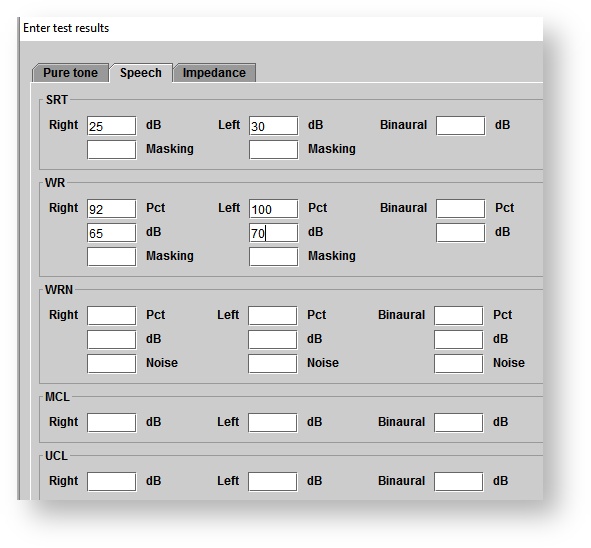
Entering Speech data points
- Click into the Speech tab of the Enter test results dialog box.
- Click into a cell in the SRT, WR, WRN, MCL, UCL table and enter in the speech scores.
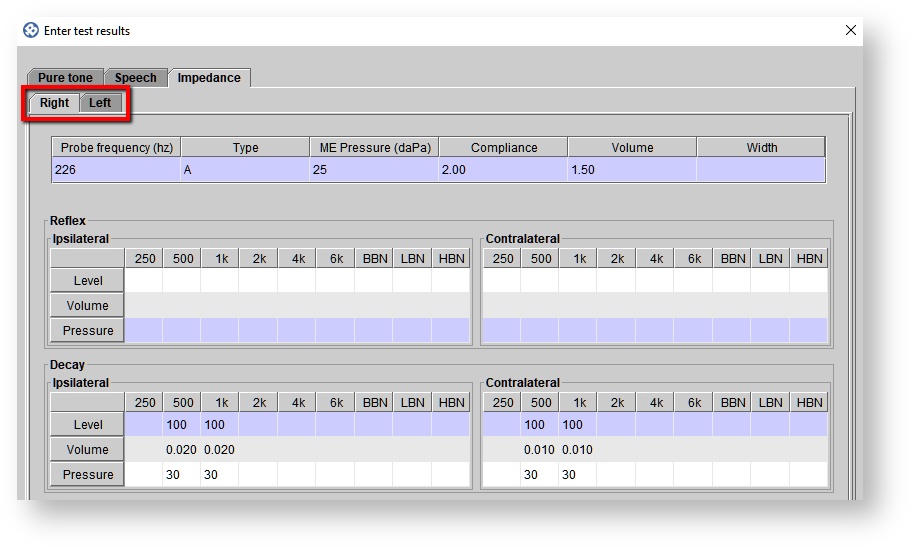
Entering Impedance data points
- Click into the Impedance tab of the Enter test results dialog box.
- Click into the Right or Left sub-tab of the Impedance tab.
- Click into a cell and enter the impedance information.
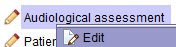
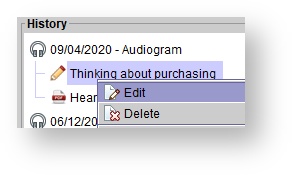
Editing hearing assessments
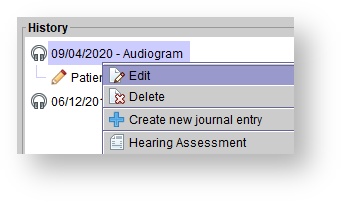
- In the patient's Audiology tab, find in the History panel the hearing assessment you wish to edit.
- Right-click the assessment and select Edit.
- The Edit test results dialog box will appear. Make any desired changes.
- Click
.Status title Save
Deleting hearing assessments, journal entries, and documents
In the patient's Audiology tab, find in the History panel the entry you wish to delete.
- Right-click on the entry and select Delete.
- A Confirm operation dialog box will appear. Click
.Status title Yes
Removing journal entries from the Audiology tab without deleting them
- In the patient's Audiology tab, find in the History panel the journal entry you wish to remove from the Audiology tab.
- Right-click on the journal entry and select Edit.
- The Patient journal entry dialog box will appear. In it, uncheck the Display in audiology checkbox.
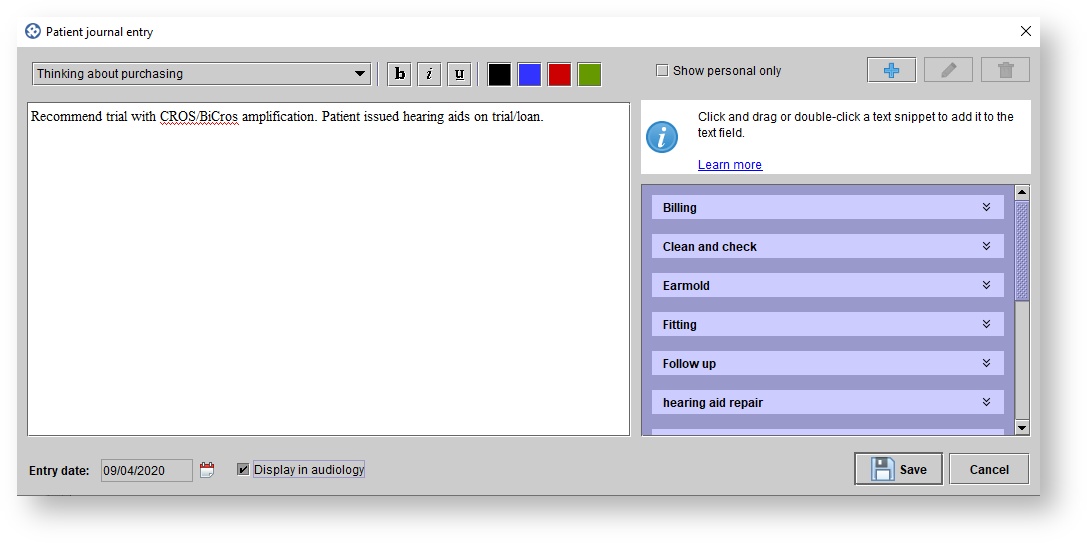
- Click
.Status title Save
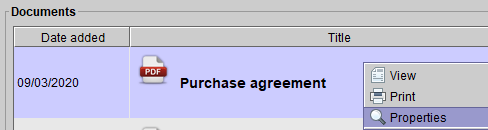
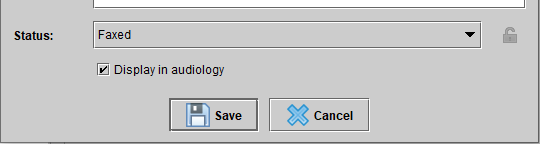
Removing documents from the Audiology tab without deleting them
- In the patient's Audiology tab, find in the History panel the document you wish to remove from the Audiology tab.
- Right-click on the document and select Properties.
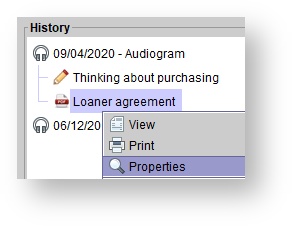
- The Edit document properties dialog box will appear. In it, uncheck the Display in audiology checkbox.
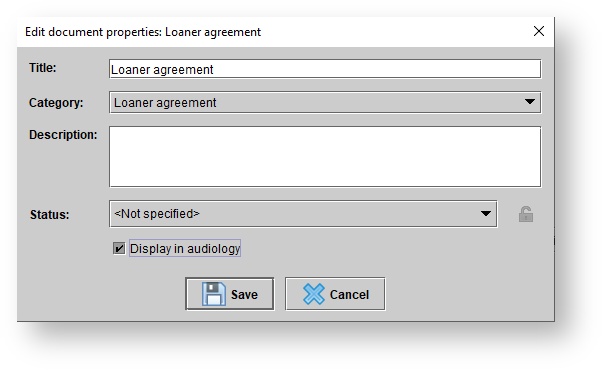
- Click
.Status title Save
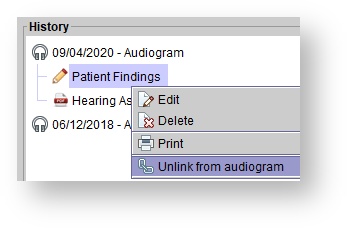
Unlinking journal entries and documents from audiogram without removing them from the Audiology tab
- In the patient's Audiology tab, find in the History panel the entry you wish to unlink from the audiogram.
- Right-click on the entry and select Unlink from audiogram.
Setting patient types
| Anchor | ||||
|---|---|---|---|---|
|
The patient can be assigned to one or more patient types. Assigning patient types to patients does two things: it a red badge in the patient's summary screen for every patient type they belong to, and it allows marketing campaigns to target patients by patient type.
In the patient's Audiology tab, click the ellipsis
 button next to Patient type(s) field.
 .png?version=1&modificationDate=1388533461594&cacheVersion=1&api=v2)
In the Select patient type(s) dialog box, select the appropriate patient types.
- Click Ok.
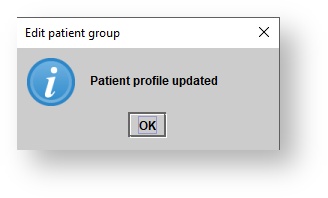
- Click Ok on the Patient profile updated prompt.
| Note |
|---|
The patient types list is customized based on the setup specifications. New patient types can be added under Setup > Patient Types > Create New. |
| Panel | ||||||
|---|---|---|---|---|---|---|
| ||||||
|
| Panel | ||||||||||||
|---|---|---|---|---|---|---|---|---|---|---|---|---|
| ||||||||||||
|
| Panel | ||||||
|---|---|---|---|---|---|---|
| ||||||
|