Viewing contact details
| Tip |
|---|
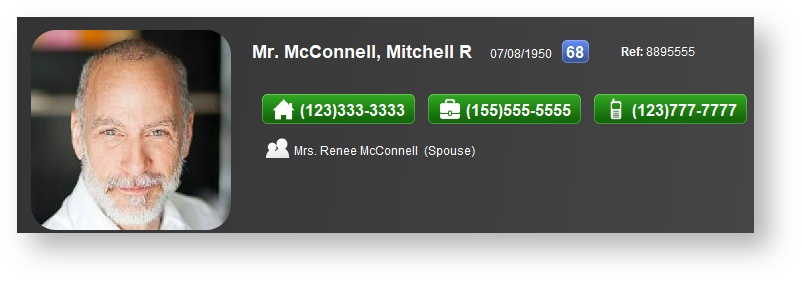
| In the top left-hand corner of the patient Summary tab is patient contact information and the patient's photo. |
- Contact details contain patient name, date of birth, age, home, work, and mobile phone numbers. If an alternate contact is flagged as the primary contact on the patient's Details tab, the alternate contact's name, relationship to patient, home, work, and mobile phone numbers appear. See: Entering alternate contacts for more information.
| Note |
|---|
| This information populates from data in the patient's Details tab. |
Viewing patient statistics
| Tip |
|---|
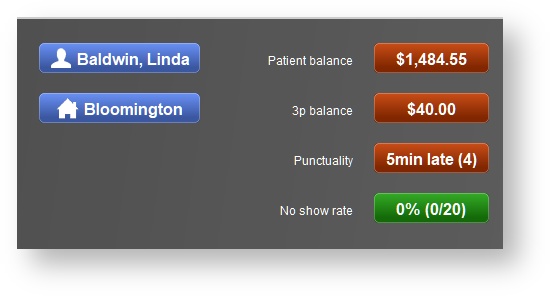
| In the top right-hand corner of the patient Summary tab are patient statistics. |
- Assigned provider and location shown in blue.
| Note |
|---|
| Provider and location information populates from data in the patient's Details tab. |
- For a client with an amount owing on the account, the balance appears in red. For a client with a credit on the account, the balance appears in green.
- For a client insurer with an amount owing on the account, the balance appears in red. For a client insurer with a credit on the account, the balance appears in green.
| Note |
|---|
| Balance populates from data in the patient's Sales history tab. |
- Punctuality is calculated from the starting time of the patient appointment, in comparison to the patient arrival time. See: Marking patients arrived for more information. The total number of appointments calculated into the statistic shows in parenthesis. On average, if the client arrives late to appointments, the punctuality appears in red. On average, if the client arrives early to appointments, the punctuality appears in green.
| Note |
|---|
| Punctuality populates from data in the Schedule. |
The No-show rate is calculated from appointments with the status No show. See: Changing appointment status for more information. The total number of appointments calculated into the statistic appears in parenthesis. If the patient has a no-show percentage, the no-show rate appears in red.
| Note |
|---|
| The no-show rate populates from the data in the Schedule |
Viewing patient-specific information
In the middle of the patient Summary tab is patient-specific information.
The patient's residential and email addresses appear.
Optionally, click on the patient's email address to email the patient directly from Blueprint.

Note This information populates from data in the patient's Details tab.
- The next upcoming recall for the patient appears.
| Note |
|---|
| This information populates from the Recalls module on the main toolbar. See: Recalls for more information. |
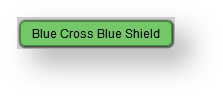
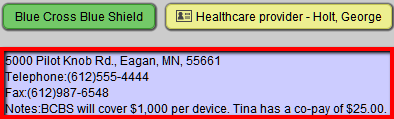
3. Insurers on file appear in green.
| Tip |
|---|
Hover over the insurer on file to view the address, phone number, fax number, and notes.
|
| Note |
|---|
| This information populates from the patient's Insurers tab. See: Setting patient insurers for more information. |
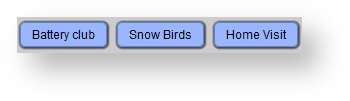
4. Marketing patient groups on the patient file appear in blue.
| Note |
|---|
| This information populates from the patient's Marketing tab. See: Managing patient groups for more information. |
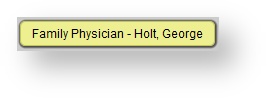
5. Referral type and source appear in yellow.
| Note |
|---|
| This information populates from the patient's Marketing tab. |
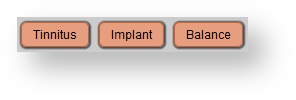
6. Patient types on file appear in red.
| Note |
|---|
| This information populates from the patient's Audiology tab. See: Selecting a patient type for more information. |
Adding or editing patient notes
- To add or edit a patient note, do one of the following:
- On the Patient browser tab, open the patient's file.
- On the Patient browser tab, click on the desired patient.
- Click the Patient drop-down menu, and select Edit note.
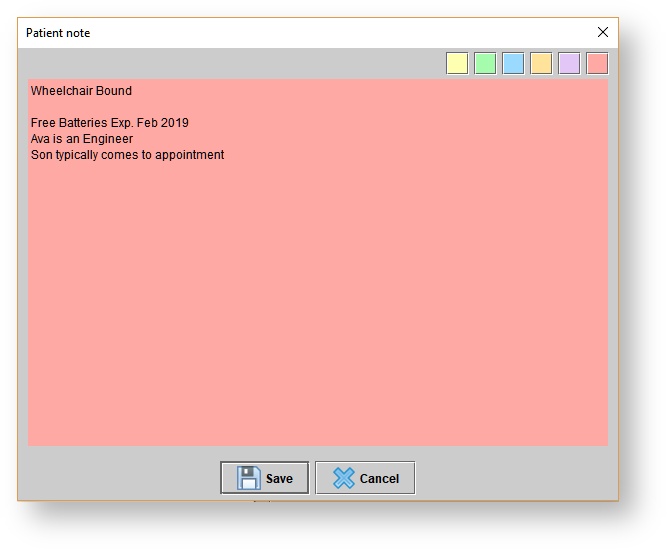
- In the Patient note dialog box, type or update a patient note
- Select a note color
- Click Save.
| Note |
|---|
Patient notes appear: (1) on the patient's Summary screen, (2) when a patient is selected on the Patient browser, and (3) when using the mouse to hover over a patient's name when creating a new appointment on the Schedule. |
Clearing patient notes
- To clear a note, do one of the following:
- On the Patient browser tab, open the patient’s file.
- On the Patient browser tab, click on the desired patient.
- Click the Patient drop-down menu, and select Clear note.
- In the Confirm operation dialog box, do one of the following:
- Click Yes to clear the note.
- Click No to keep the note.
Viewing next and last appointments
| Note |
|---|
| This information populates from data in the Schedule. |
In the middle of the summary tab screen, you will find the following patient appointment information:
- The patient's upcoming appointment appears with a
 icon.
icon. - The patient's last appointment appears with a
 icon.
icon. - The appointment date and time are displayed.
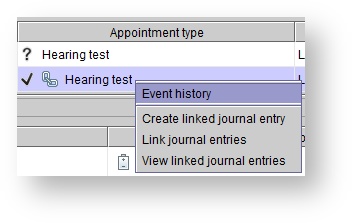
- The appointment status and type will be displayed as well as if there is a linked journal entry.
- The provider the patient will see during their appointment.

| Tip |
|---|
Right-click an appointment to view its event history as well as to create, link, and view linked journal entries for it. |
Viewing last assessments
| Tip |
|---|
| In the middle of the patient Summary tab is assessment information. |
If the patient's last audiogram is more than one year old, the assessment date appears in red.

Hovering over the hearing Severity, Type, or Shape results with the mouse, displays the assessment in graph format.
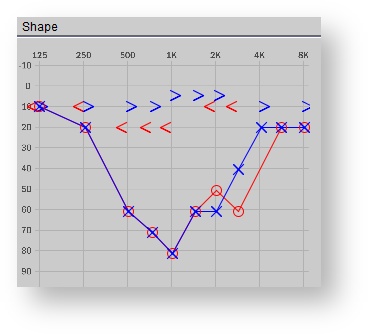
Note This information populates from the data in the patient's Audiology tab.
Viewing current aids
/earmolds| Tip |
|---|
| At the bottom of the patient Summary tab is current aid /earmold information. |
- The most recent right, left, and other side active hearing aids /earmolds appear.


- If the Age of the aid /earmold is more than four years old, it appears in green.
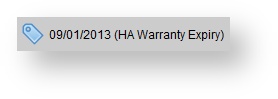
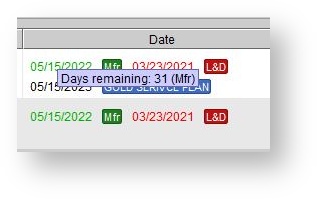
If the Warranty expiration date will expire in the next 90 days, it appears in green. Expired warranties appear in red. Hovering over the warranty expiration date with the mouse, displays the days remaining.
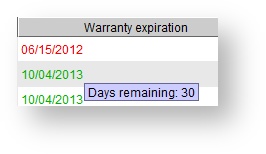
Hovering over the Model name populates the Serial number, Color, and Notes on the aid/earmold.
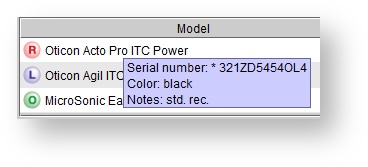
Note This information populates from the data in the Active aids/earmolds section of active hearing aid only data from the patient's Hearing aids tab.
- The most recent right, left, and other side active hearing aids /earmolds appear.
Viewing current ALDs/Accessories
| Tip |
|---|
| At the bottom of the patient Summary tab is current ALDs/Accessories information. |
The two most recent ALDs/Accessories appear.

Note This information populates from the ALDs/Accessories section of the patient's Hearing aids tab.
Saving/printing patient summaries
| Tip | ||||
|---|---|---|---|---|
At the bottom of the patient Summary tab is the
|
- Click Print. The Patient summary sheet opens in a new tab.
- Utilize the Save icon in the top left-hand corner to save the Patient summary to your computer.
- Utilize the Print icon in the top left-hand corner to print the Patient summary.
Archiving patient summaries
At the bottom of the Patient summary is the
| Status | ||
|---|---|---|
|
- Within the Add document: Patient summary dialog box, input a Title, select a Category, and optionally add an additional Description and Status.
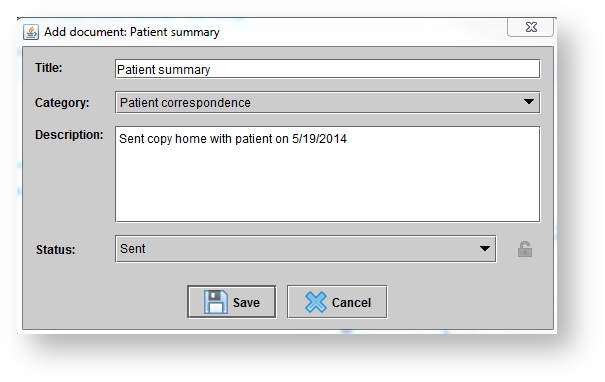
- Click Save.
- Within the Add document: Patient summary dialog box, input a Title, select a Category, and optionally add an additional Description and Status.
| Panel | ||||||
|---|---|---|---|---|---|---|
| ||||||
|
| Panel | ||||||||||||
|---|---|---|---|---|---|---|---|---|---|---|---|---|
| ||||||||||||
|
| Panel | ||||||
|---|---|---|---|---|---|---|
| ||||||
| Navigating the Patient Summary Screen |