Viewing the list of event types
You can view the event types at Setup > Scheduling > Event types.
| Info |
|---|
| A list of event types appears in the Event types panel and includes information such as Name, Acronym, Resource types required, Duration, Color, and Settings. Use the Quick Find field to type the first few letters of the event name to quickly locate the desired event type. Optional settings are indicated by a colored box in the "Settings" column of the Events list. |
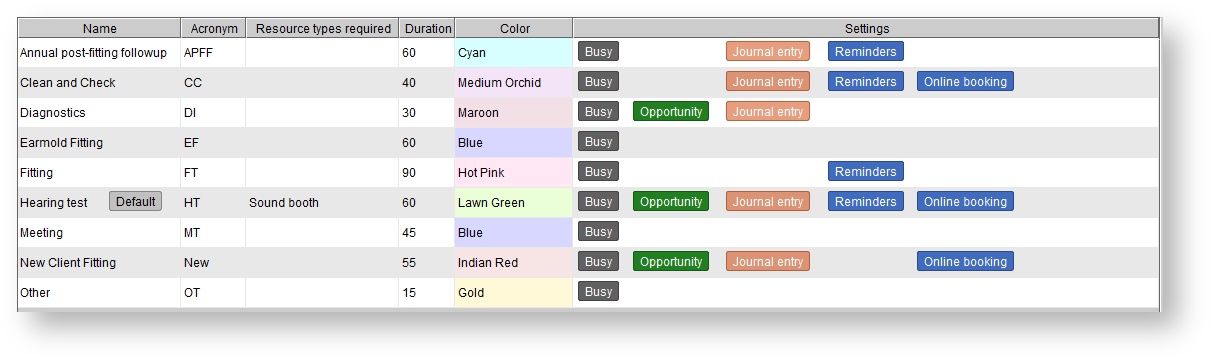
Badges on the right will show at a glance which settings are enabled for each event type.

Creating a new event type
Click the Setup button on the main toolbar.
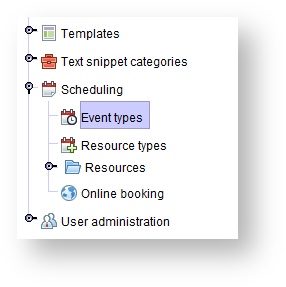
Double-click Scheduling (or click the magnifying glass on the left to expand the menu).
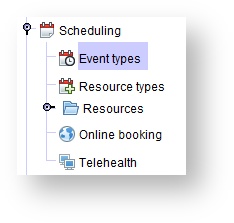
- Click Event types.
- Click CREATE NEW
At Setup > Scheduling > Event types, click
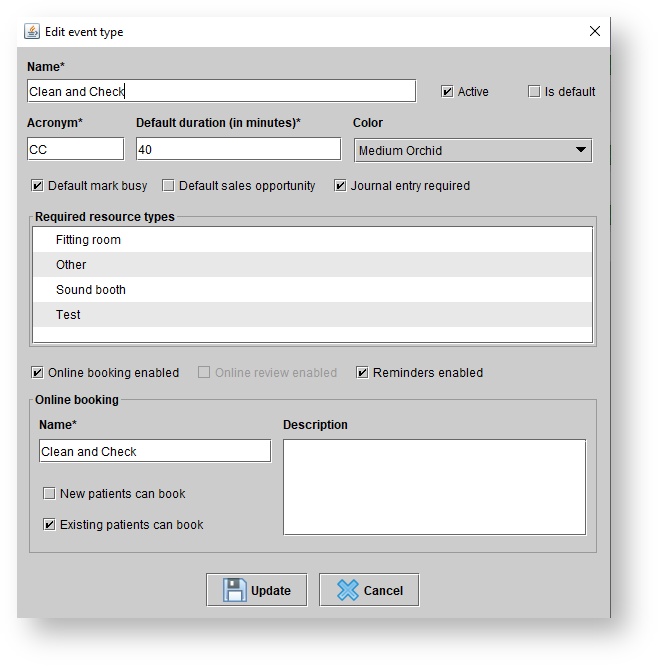
.Status title Create new In the Create event type dialog box, enter the event Name, Acronym, Default duration (in minutes).
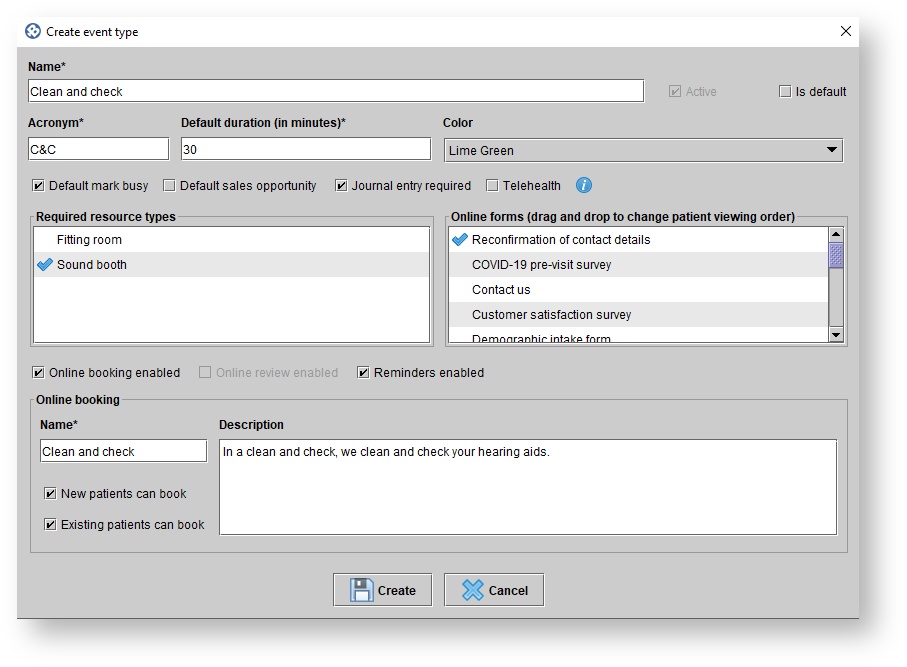
6. Optionally, do one or more of the following:
- Select an appointment Color from the drop-down menu.
- Check the Is default box to have the specific appointment type appear first in the list of event types when scheduling a new appointmenttype selected by default when new appointments are created.
- Check the Default mark busy box to require that the provider not be double-booked during make appointments of this type marked busy by default. The appointment will appear with a solid color on the schedule. If the Default mark busy box is un-checkedunchecked, the appointment will show in white with a colored outline on the schedule.
- Check the Default sales opportunity box to count appointments of this type as sales opportunities. The appointment will be calculated in the Appointment Analysis and Opportunity Closing Rate by Opportunity report reports.
- Check the Journal entry required box to require that appointments of this type have a linked journal entry.
- Check the Online review enabled box if reviews can be sent to patients scheduled for this appointments of this typethe Telehealth box to make appointments of this type offer, by default, telehealth appointment invitations containing instructions for connecting to the videoconferencing platform.
- Set required resource types for the event type. If resource types are required, then resources of the required type must be reserved for every appointment of this type.
- Associate online forms with the event type. For appointments booked online, these forms will send once the booking is verified. For user-created appointments, the creation of the event will prompt the sending of these forms. For the COVID-19 pre-visit survey, it is recommended that the form be sent ad hoc the day of the appointment, rather than automatically when the appointment is created. For more information, see: Creating an online forms request in connection with an appointment.
- Check the Online booking enabled box if patients can book this appointment type online. This will open another section to fill out:
- Type the event name patients see online when booking this appointments of this type.
- Select whether new patients, existing patients, or both can schedule appointments of this type.
- Type an optional description of this appointment type. This will display online.

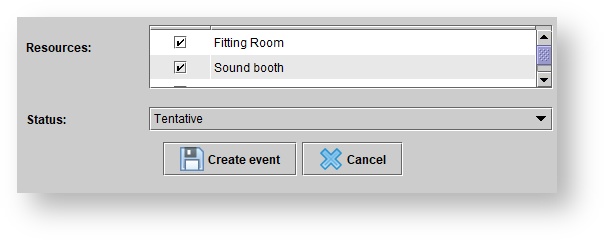
- Check off the Required resource types for this appointment type.
- If your system has online review enabled, you can check the Online review enabled box so that can be sent to patients scheduled for this appointments of this type.
- Check the Reminders enabled check box if you would like for an automatic appointment reminder to be sent
- If your system has appointment reminders enabled, you can check the Reminders enabled box to enable reminders for appointments of this type.
7 3. Click
| Status | ||
|---|---|---|
|
Editing or deactivating an event type
Click the Setup button on the main toolbar.
- Click Event types.
In the Event types panelAt Setup > Scheduling > Event types, double-click on the desired event type, or click on the event and select
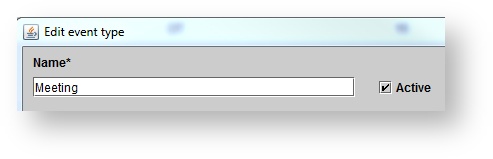
.Status title Edit details In theThe Edit event type dialog box will appear. In it, edit modify the event details as needed.
Click
.Status title Update
Deactivating/Reactivating an event type
Click the Setup button on the main toolbar.
Click Event types.
- In the Event types panel, double-click on the desired event type, or click on the event and select
.Status title Edit details - In the Edit event type dialog box, un-check the Active check box.
Click
.Status title Update Tip
. Check the Active check box and clickStatus title Edit details Changing the active status of the event type amounts to deactivating or reactivating the event type.
Click
.Status title Update
| Panel | ||||||
|---|---|---|---|---|---|---|
| ||||||
|
| Panel | ||||||||||||
|---|---|---|---|---|---|---|---|---|---|---|---|---|
| ||||||||||||
|